Transform Your Parquet: Start with a Smart Pre-Sanding Survey
Parquet is a show-off. Get it right and those chevrons, blocks and borders look like a tailored suit: crisp, elegant, timeless. Get it wrong and the floor tells on you—every swirl mark, every ripple, every patchy finish shows up the moment daylight hits it. This guide walks you through the practical, drama-dodging steps that turn a nervous DIY weekend into a result you’re proud to live with for years.
If you’re new to Sanding Parquet Floors, you’re working on a surface that’s beautiful but unforgiving. The good news? Parquet is also one of the most rewarding floors to refurbish because solid blocks give you plenty of material to correct problems—provided you follow a sensible sequence. Here’s exactly what to do, in order.
1) Start with a detective’s survey (15 minutes that saves hours)
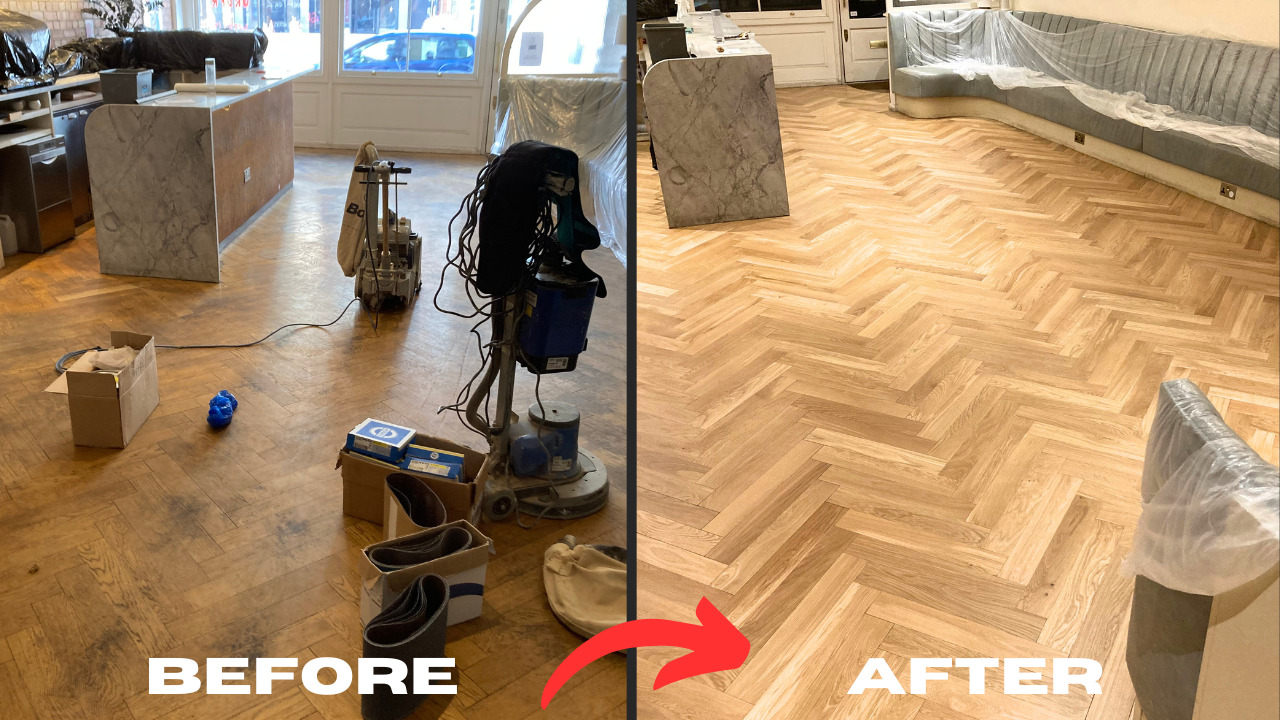
Before a machine goes anywhere near the timber, learn what you’re dealing with. A smart survey prevents half the classic headaches.
Tick through this pre-flight list:
- Identify the pattern and species. Herringbone, basketweave, chevron, mosaic? Oak is common, but maple, beech and merbau turn up too. Close-grained timbers (beech, maple) highlight scratches more; open-grained oak forgives slightly more.
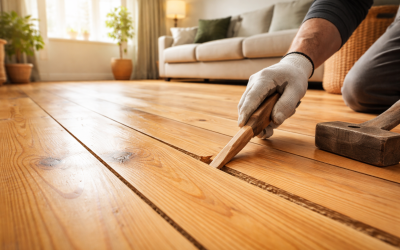
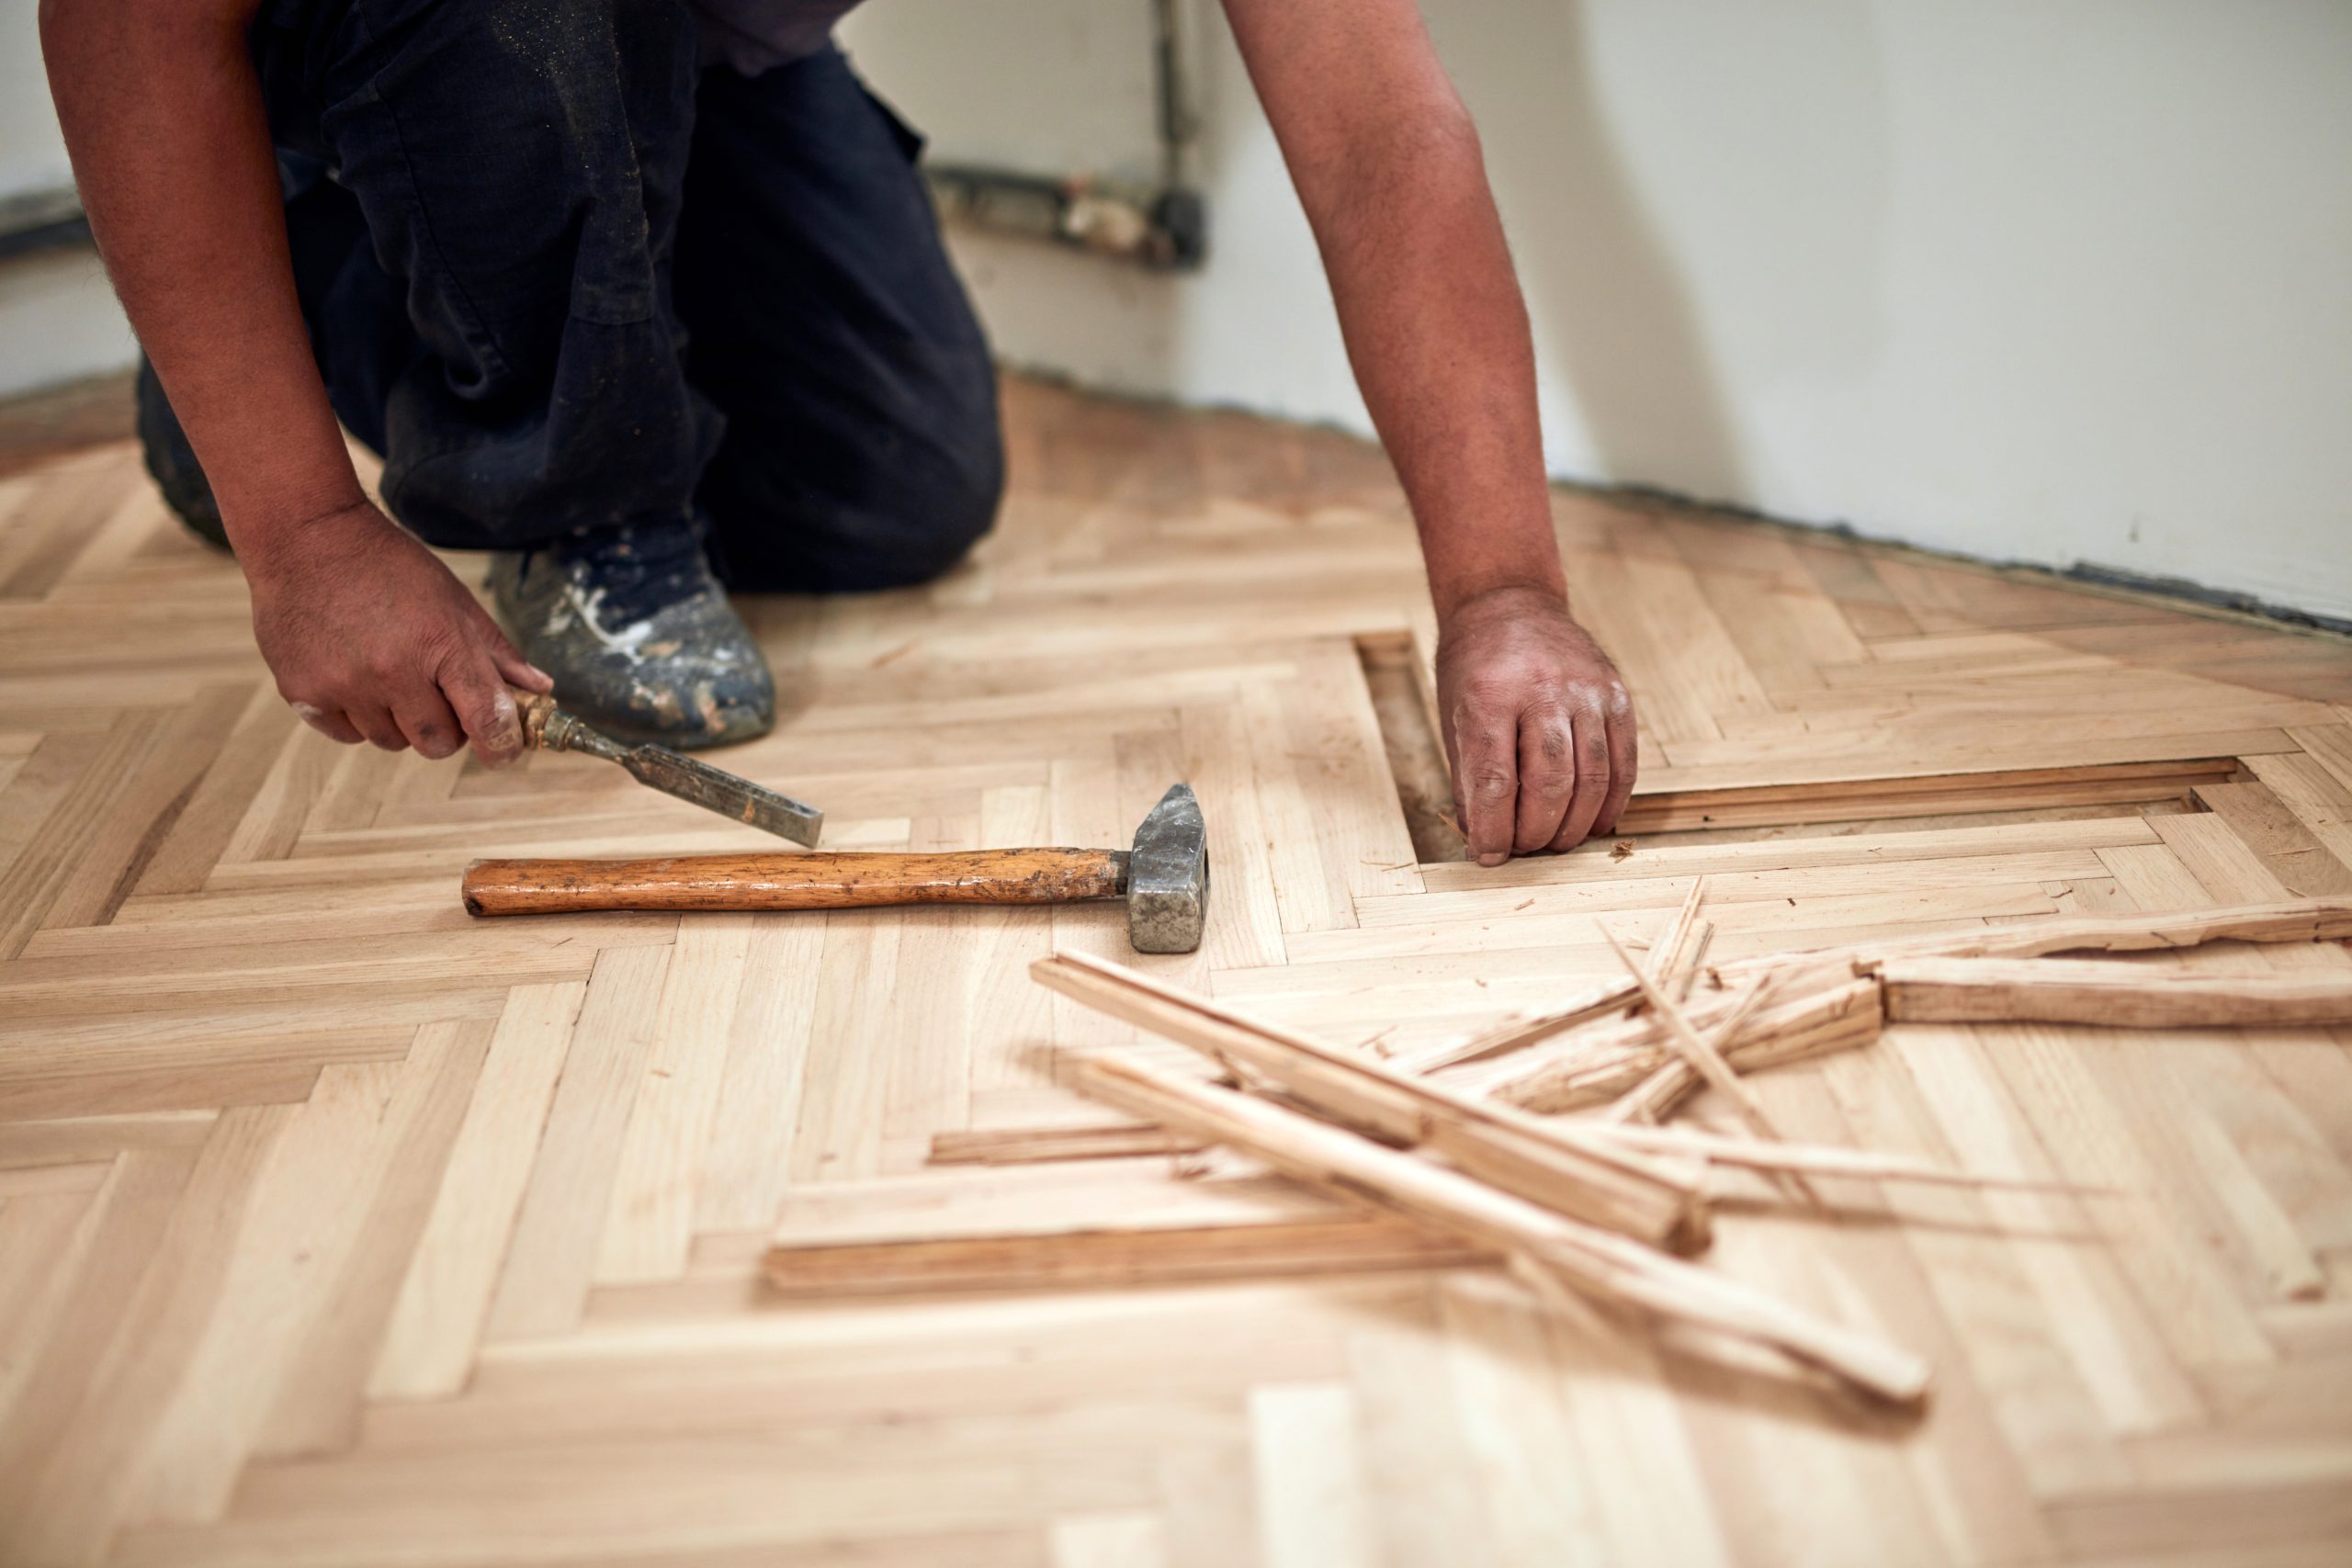
- Check stability. Tap blocks with the back of a chisel. Hollow sounds signal loose pieces. Mark them with chalk now; you’ll lift and re-bed them later.
- Assess the subfloor. Parquet on bitumen over concrete is classic. Look for damp, powdery screed, or cracked asphalt. On timber, check for bounce or squeak—movement telegraphs through the new finish.
- Spot contaminants. Old polish, wax or oil? Patch test with white spirit. Sticky residues need thorough degreasing before sanding; otherwise, belts gum up and burn.
- Confirm expansion gaps. Borders help, but tight rooms with no breathing space can cause edges to pinch after finishing, especially with water-based products.
A measured start means fewer surprises mid-project.
2) Stabilise first: repairs before sanding
Loose blocks and hollow drumming areas aren’t “we’ll sort it later” jobs. They’re Priority One.
- Lift and label. Pop loose blocks out carefully, numbering the backs with a pencil so they return to the same orientation.
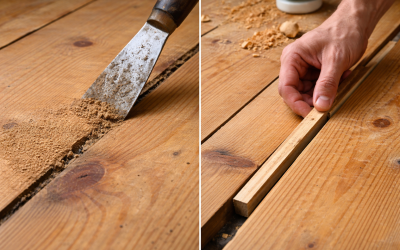
- Clean the bed. Scrape away crumbling bitumen or old adhesive. If the screed is dusty, prime per the adhesive manufacturer’s instructions.
- Choose the right adhesive. A modern MS-polymer parquet adhesive bonds to concrete, sound bitumen and timber. Avoid PVA—it’s not flexible and can creep.
- Flatten while curing. Use straight edges and a few weighted boards to keep blocks flush until the adhesive sets.
Only once the pattern is tight and flat should you reach for a sander. You’ll thank yourself later.
3) Grit sequence is law (do not improvise)
Skipping grits is the number one cause of “why can I still see scratches?” grief. Your sequence removes saw marks, levels the field, and refines to a polish-ready surface.
A sane, repeatable sequence:
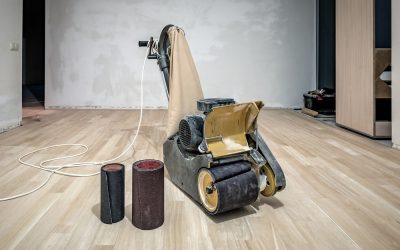
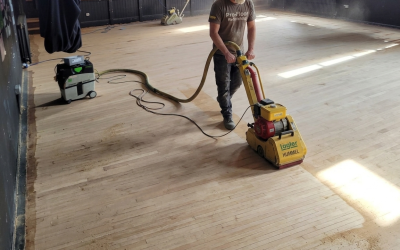
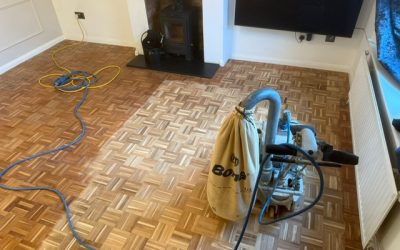
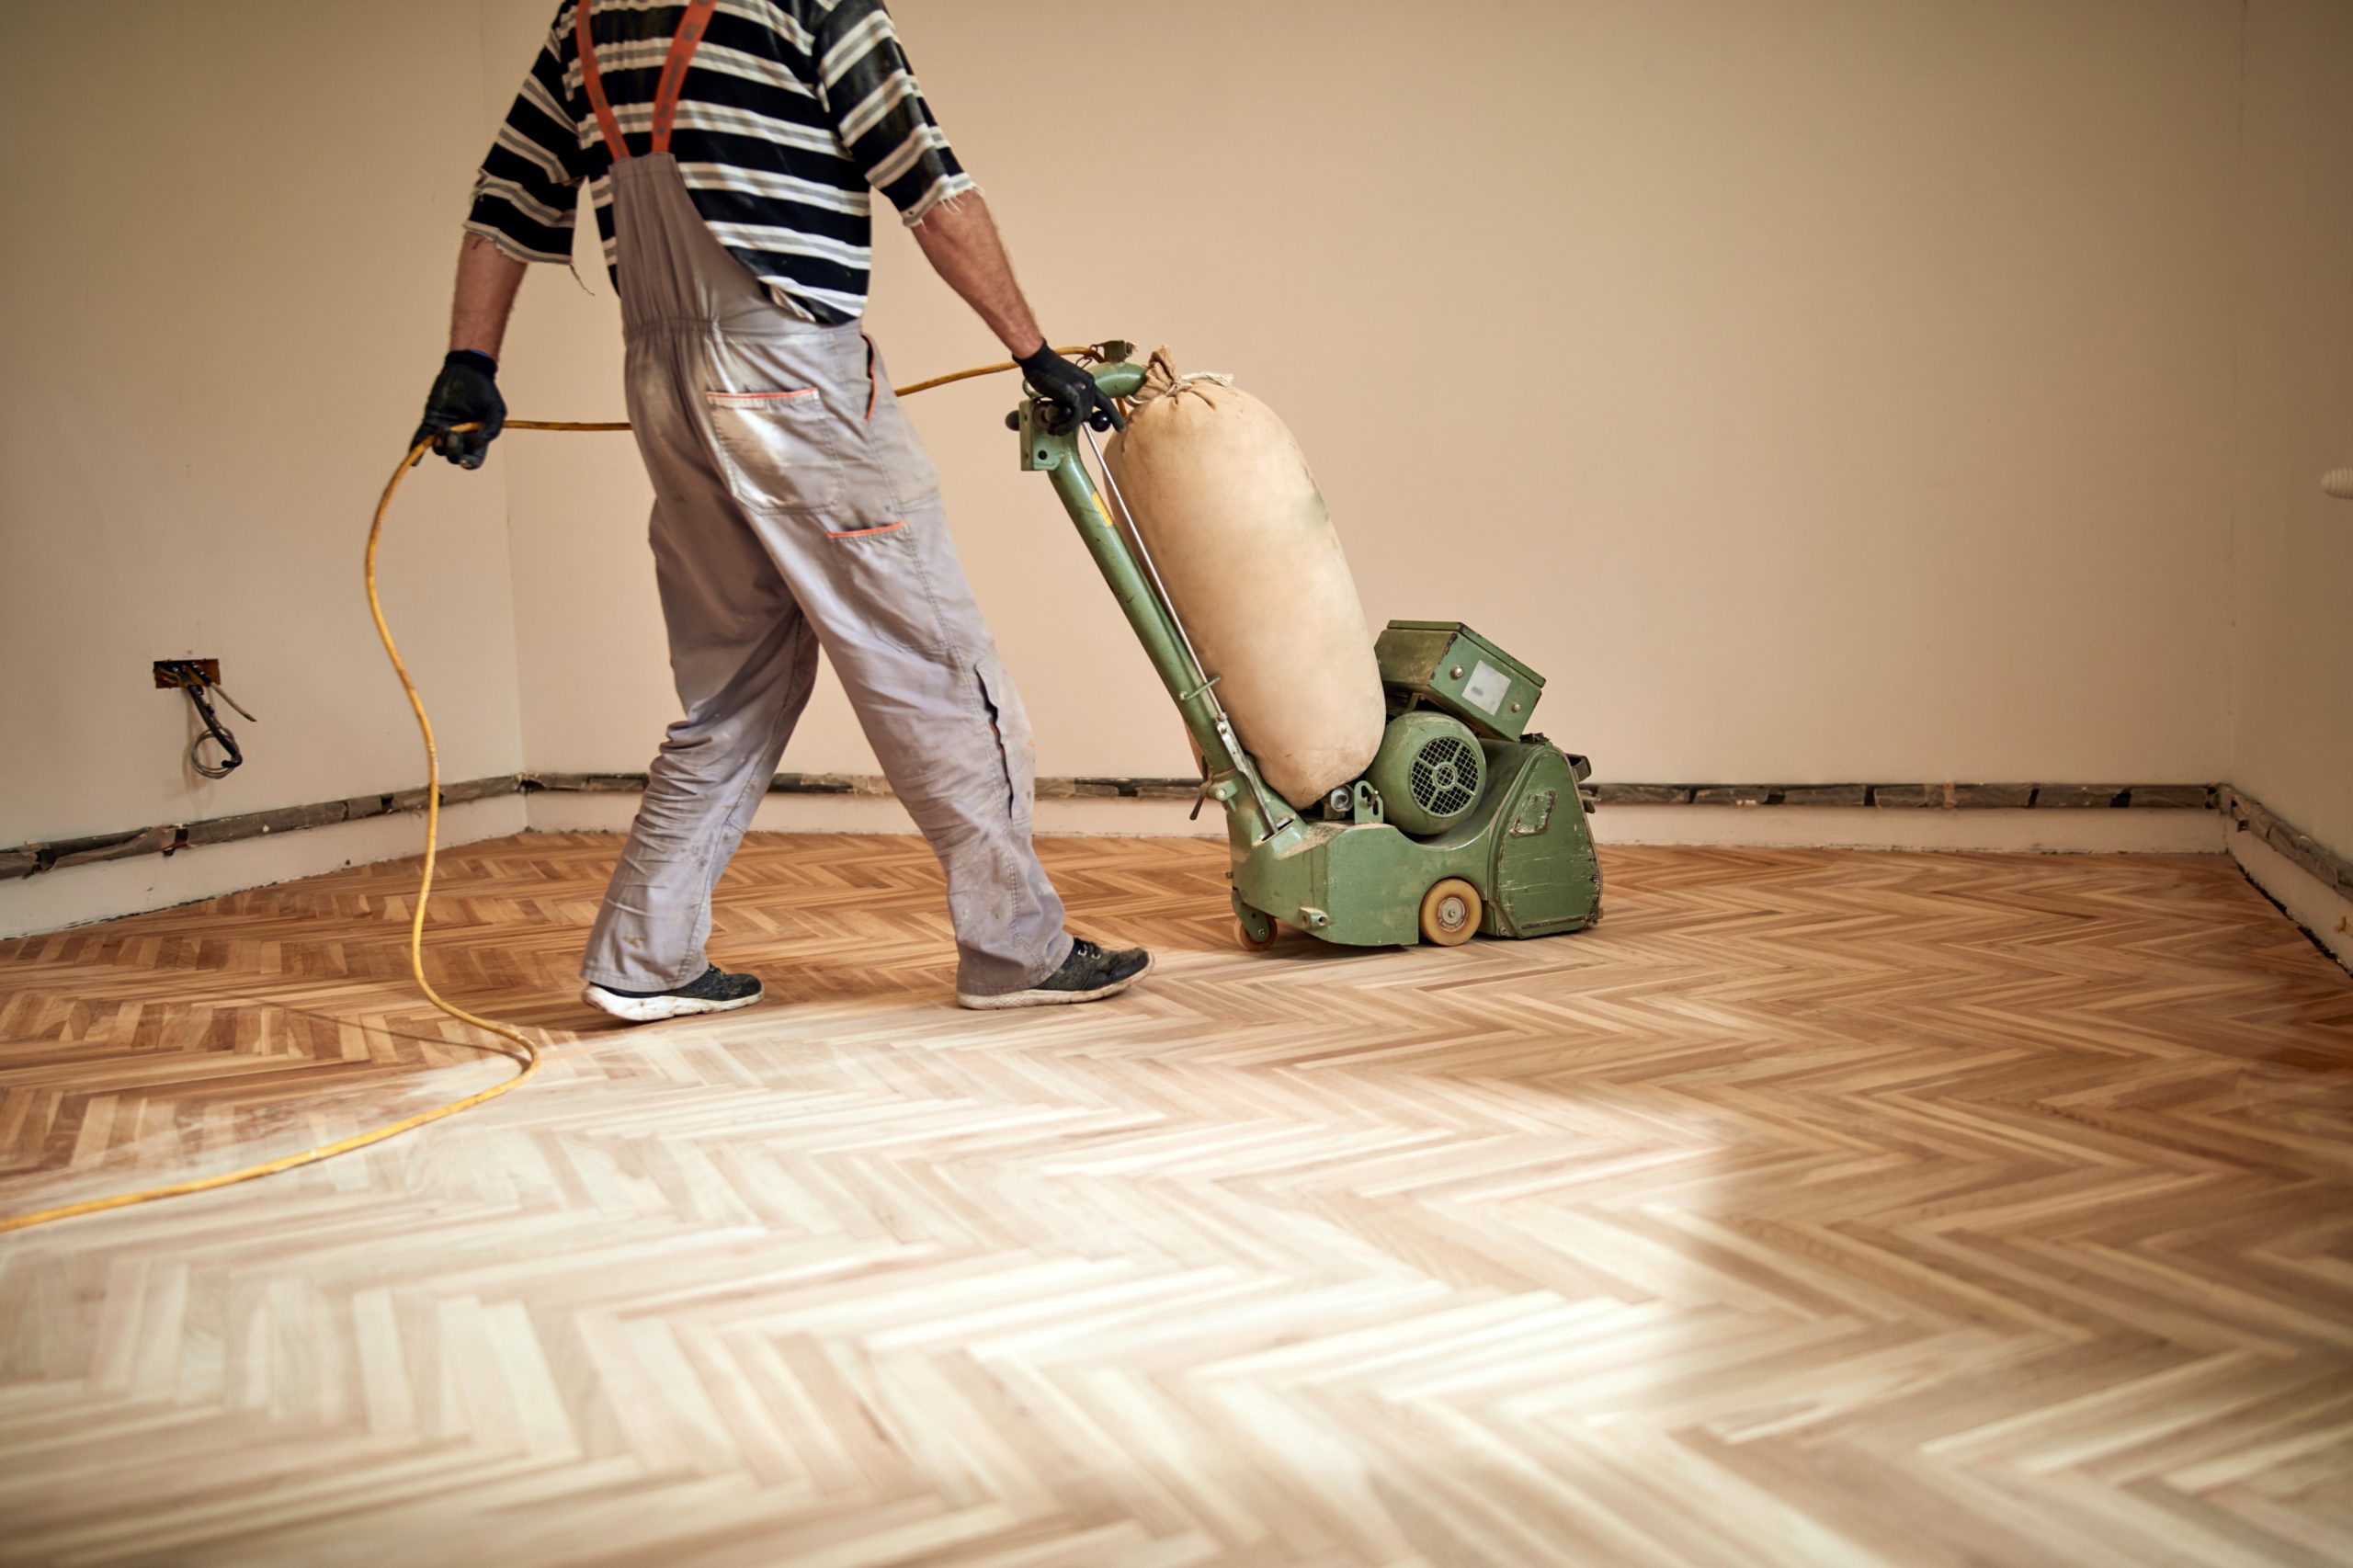
- Levelling cut with a belt or drum sander at 36–40 grit, set light. Parquet isn’t run with the grain; instead, take diagonal passes at ~7–15° to the block pattern, alternating directions. This evens high/low blocks without gouging.
- Refine at 60 grit, same diagonal method. You’re erasing 40-grit scratches, not pushing harder—let the abrasive do the work.
- Further refine at 80 grit. Most domestic parquet is ready for trowel filling after this stage.
- Edge sanding tracks the same grits: 40 → 60 → 80 with an edger or a compact random orbital. Blend into the field to avoid a “picture frame” effect.
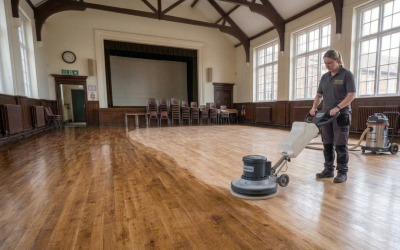
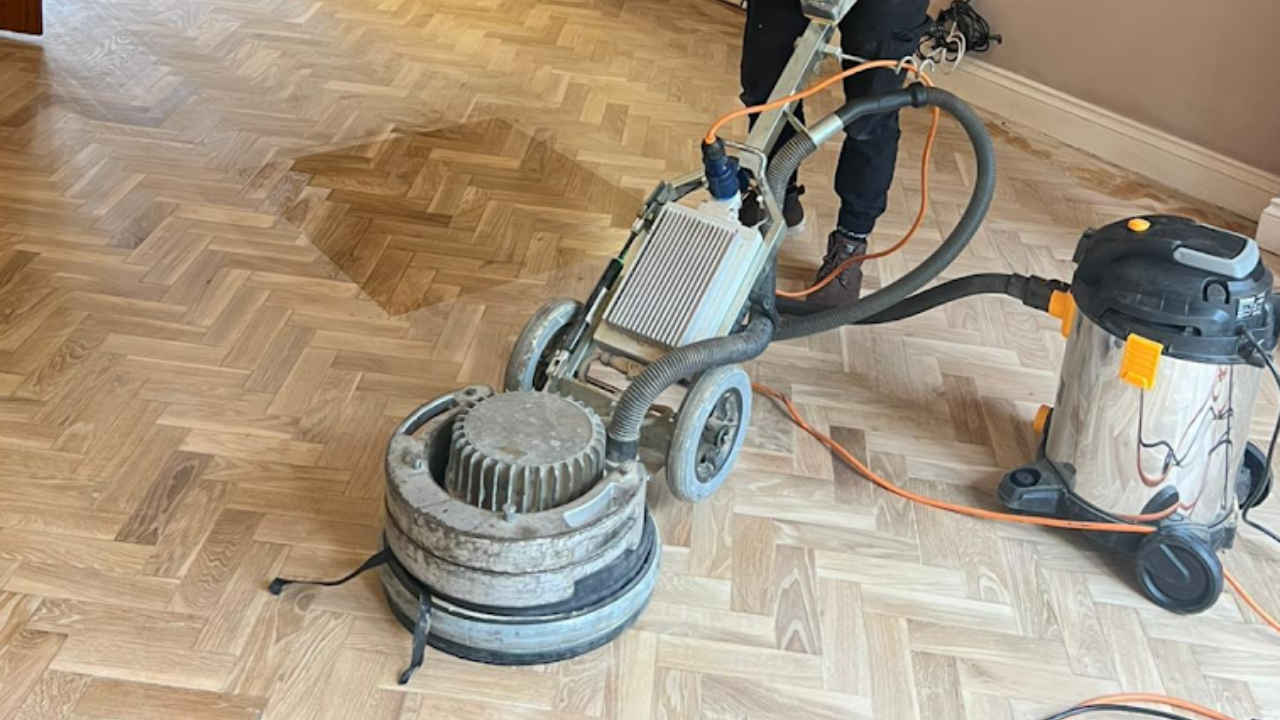
- Final field refinement at 100 or 120 grit with a multi-disc (Trio/Planetary) or a high-quality random orbital. This removes cross-grain micro-marks and closes the surface ready for finish.
Vacuum thoroughly between every grit. Change belts and discs early; dull abrasives burnish rather than cut, leaving shiny, hard patches that reject stain and sealer.
Nothing invites panic like skipping a step—especially during Sanding Parquet Floors. Stay disciplined and the floor rewards you with an even, luminous surface.
4) Avoid cross-grain scarring (the parquet-specific trap)
Because blocks run in alternating directions, sanding straight “with the grain” is impossible across the whole floor. That’s why your slight diagonals are key: they distribute the cutting action evenly so you don’t trench along one block direction.
Professional habits that make the difference:
- Feather your starts and stops. Always lower and lift the drum on the move to prevent divots.
- Keep the machine moving. Lingering in one spot digs channels you’ll chase for hours.
- Overlap each pass by one-third. Even coverage beats “fast but stripey.”
Finish with a multi-disc machine or a random orbital for a mark-free base.
5) Trowel-fill the whole floor (not just the obvious gaps)
Parquet looks best when the “quilt” is visually continuous. A full trowel fill evens hairline gaps and pinholes so the finish sits uniformly.
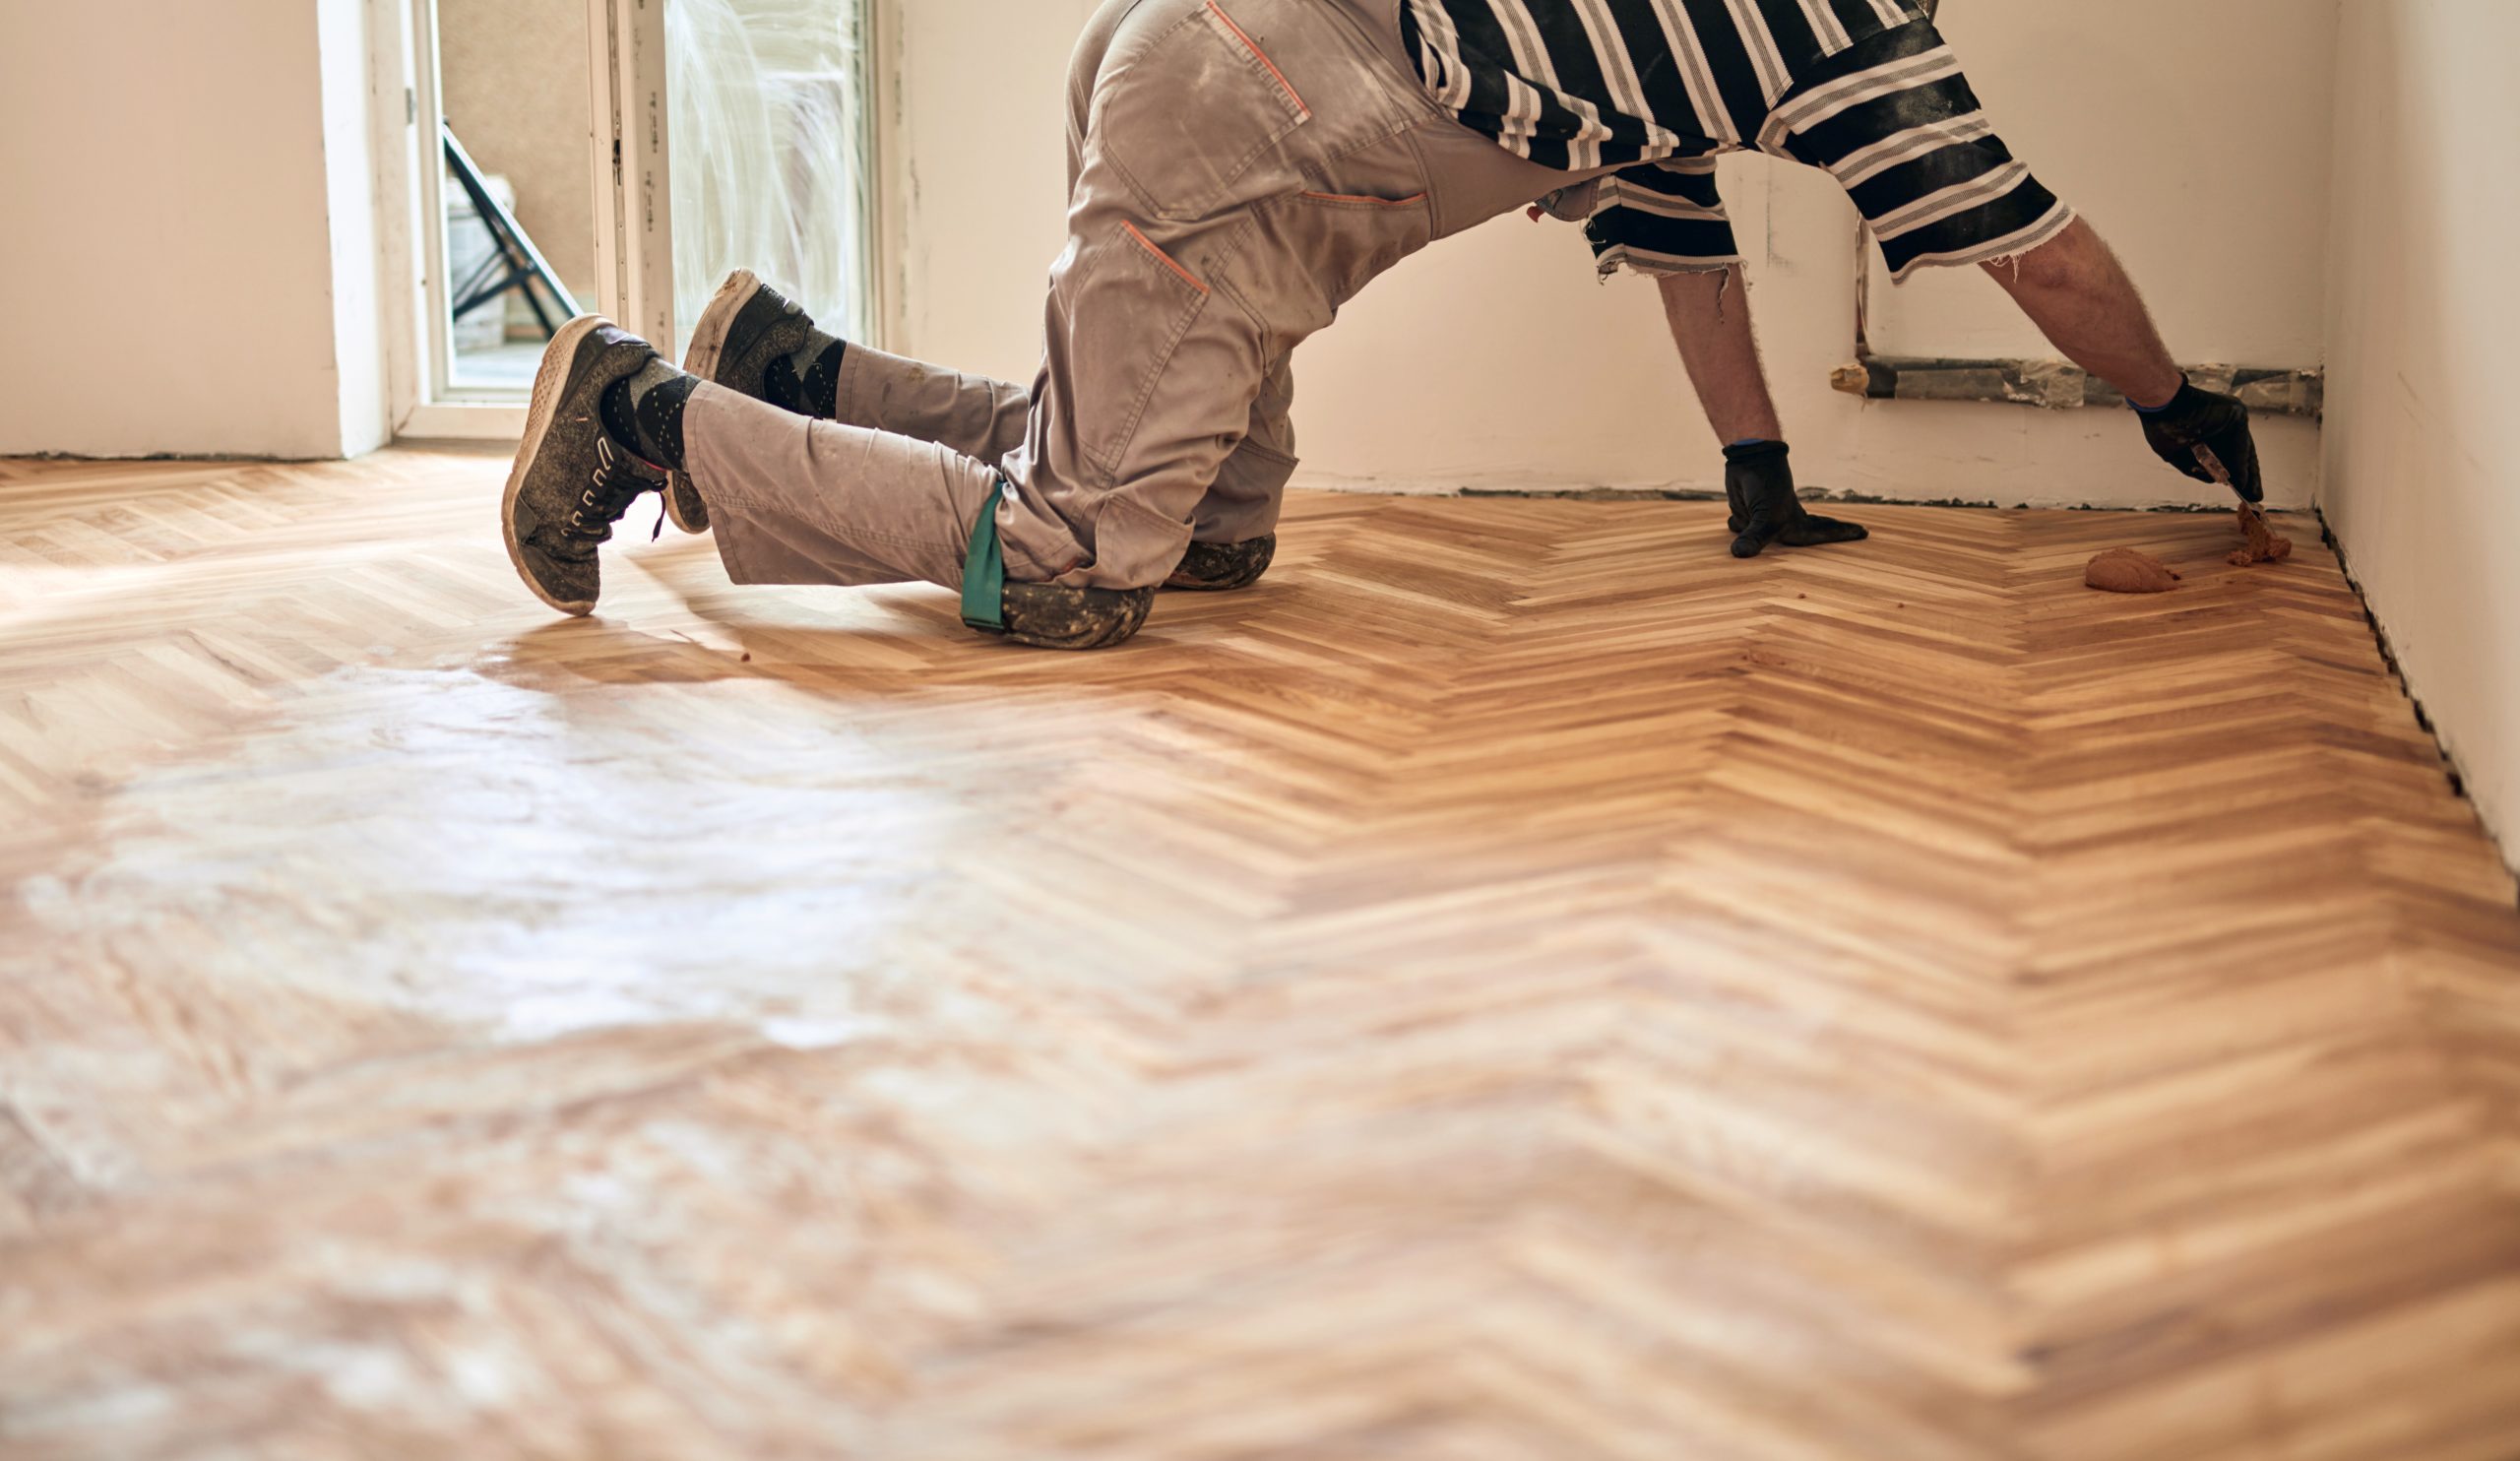
- Mix your filler. Use a purpose-made resin filler or a water-based gel mixed with the very fine dust from your 80–100 grit sanding. Avoid coarse dust (it weakens the fill).
- Apply with a flexible steel trowel. Work diagonally to the pattern to force filler into every joint.
- Let it shrink, then refine. After drying, re-sand at your final grit. Expect to re-touch a few joints on older floors.
Result: tighter optics, better light reflection, and a finish that doesn’t spotlight gaps.
6) Control dust like a pro (clean air = clean finish)
Dust contamination causes nibs, orange peel and cloudy finishes. Good extraction isn’t just comfort—it’s quality control.
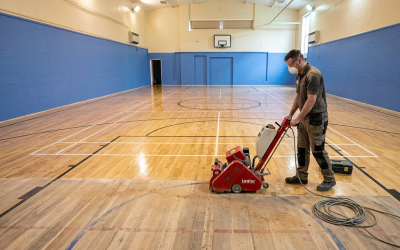
- Use modern dust-extraction sanders with sealed bags or cyclonic systems.
- Mask doorways and vents, and work with windows cracked for cross-ventilation.
- Wear a P2/P3 mask and ear protection; sustained sanding is loud and dusty, even with the best kit.
- Vacuum slowly with a soft brush head; fast passes leave fines behind that show up in your first coat.
A tidy, dust-controlled site produces a visibly sharper result.
7) Choose finishes for the room you live in (not the showroom)
There’s no single “best” finish. Pick for use-case, maintenance appetite and the look you love.
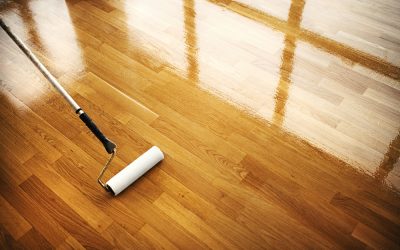
Water-based polyurethane (lacquer)
- Look: Natural-to-pale, minimal ambering. Matte to gloss options.
- Pros: Tough, quick-drying, low odour, great for families.
- Watch-outs: Fast open time—work efficiently to avoid lap marks; follow manufacturer’s grain-closing or primer guidance on oily exotics.
Hardwax oil
- Look: Rich, hand-rubbed, silky. Accentuates grain.
- Pros: Repairable in patches; warm underfoot; easy maintenance with soap/oil refresh.
- Watch-outs: Longer cure; needs regular care in high-traffic homes.
Traditional oil/solvent finishes
- Look: Deep amber glow on oak; classic “heritage” vibe.
- Pros: Forgiving application; good on older, more characterful floors.
- Watch-outs: Stronger odour and longer re-coat times; check VOC rules in your area.
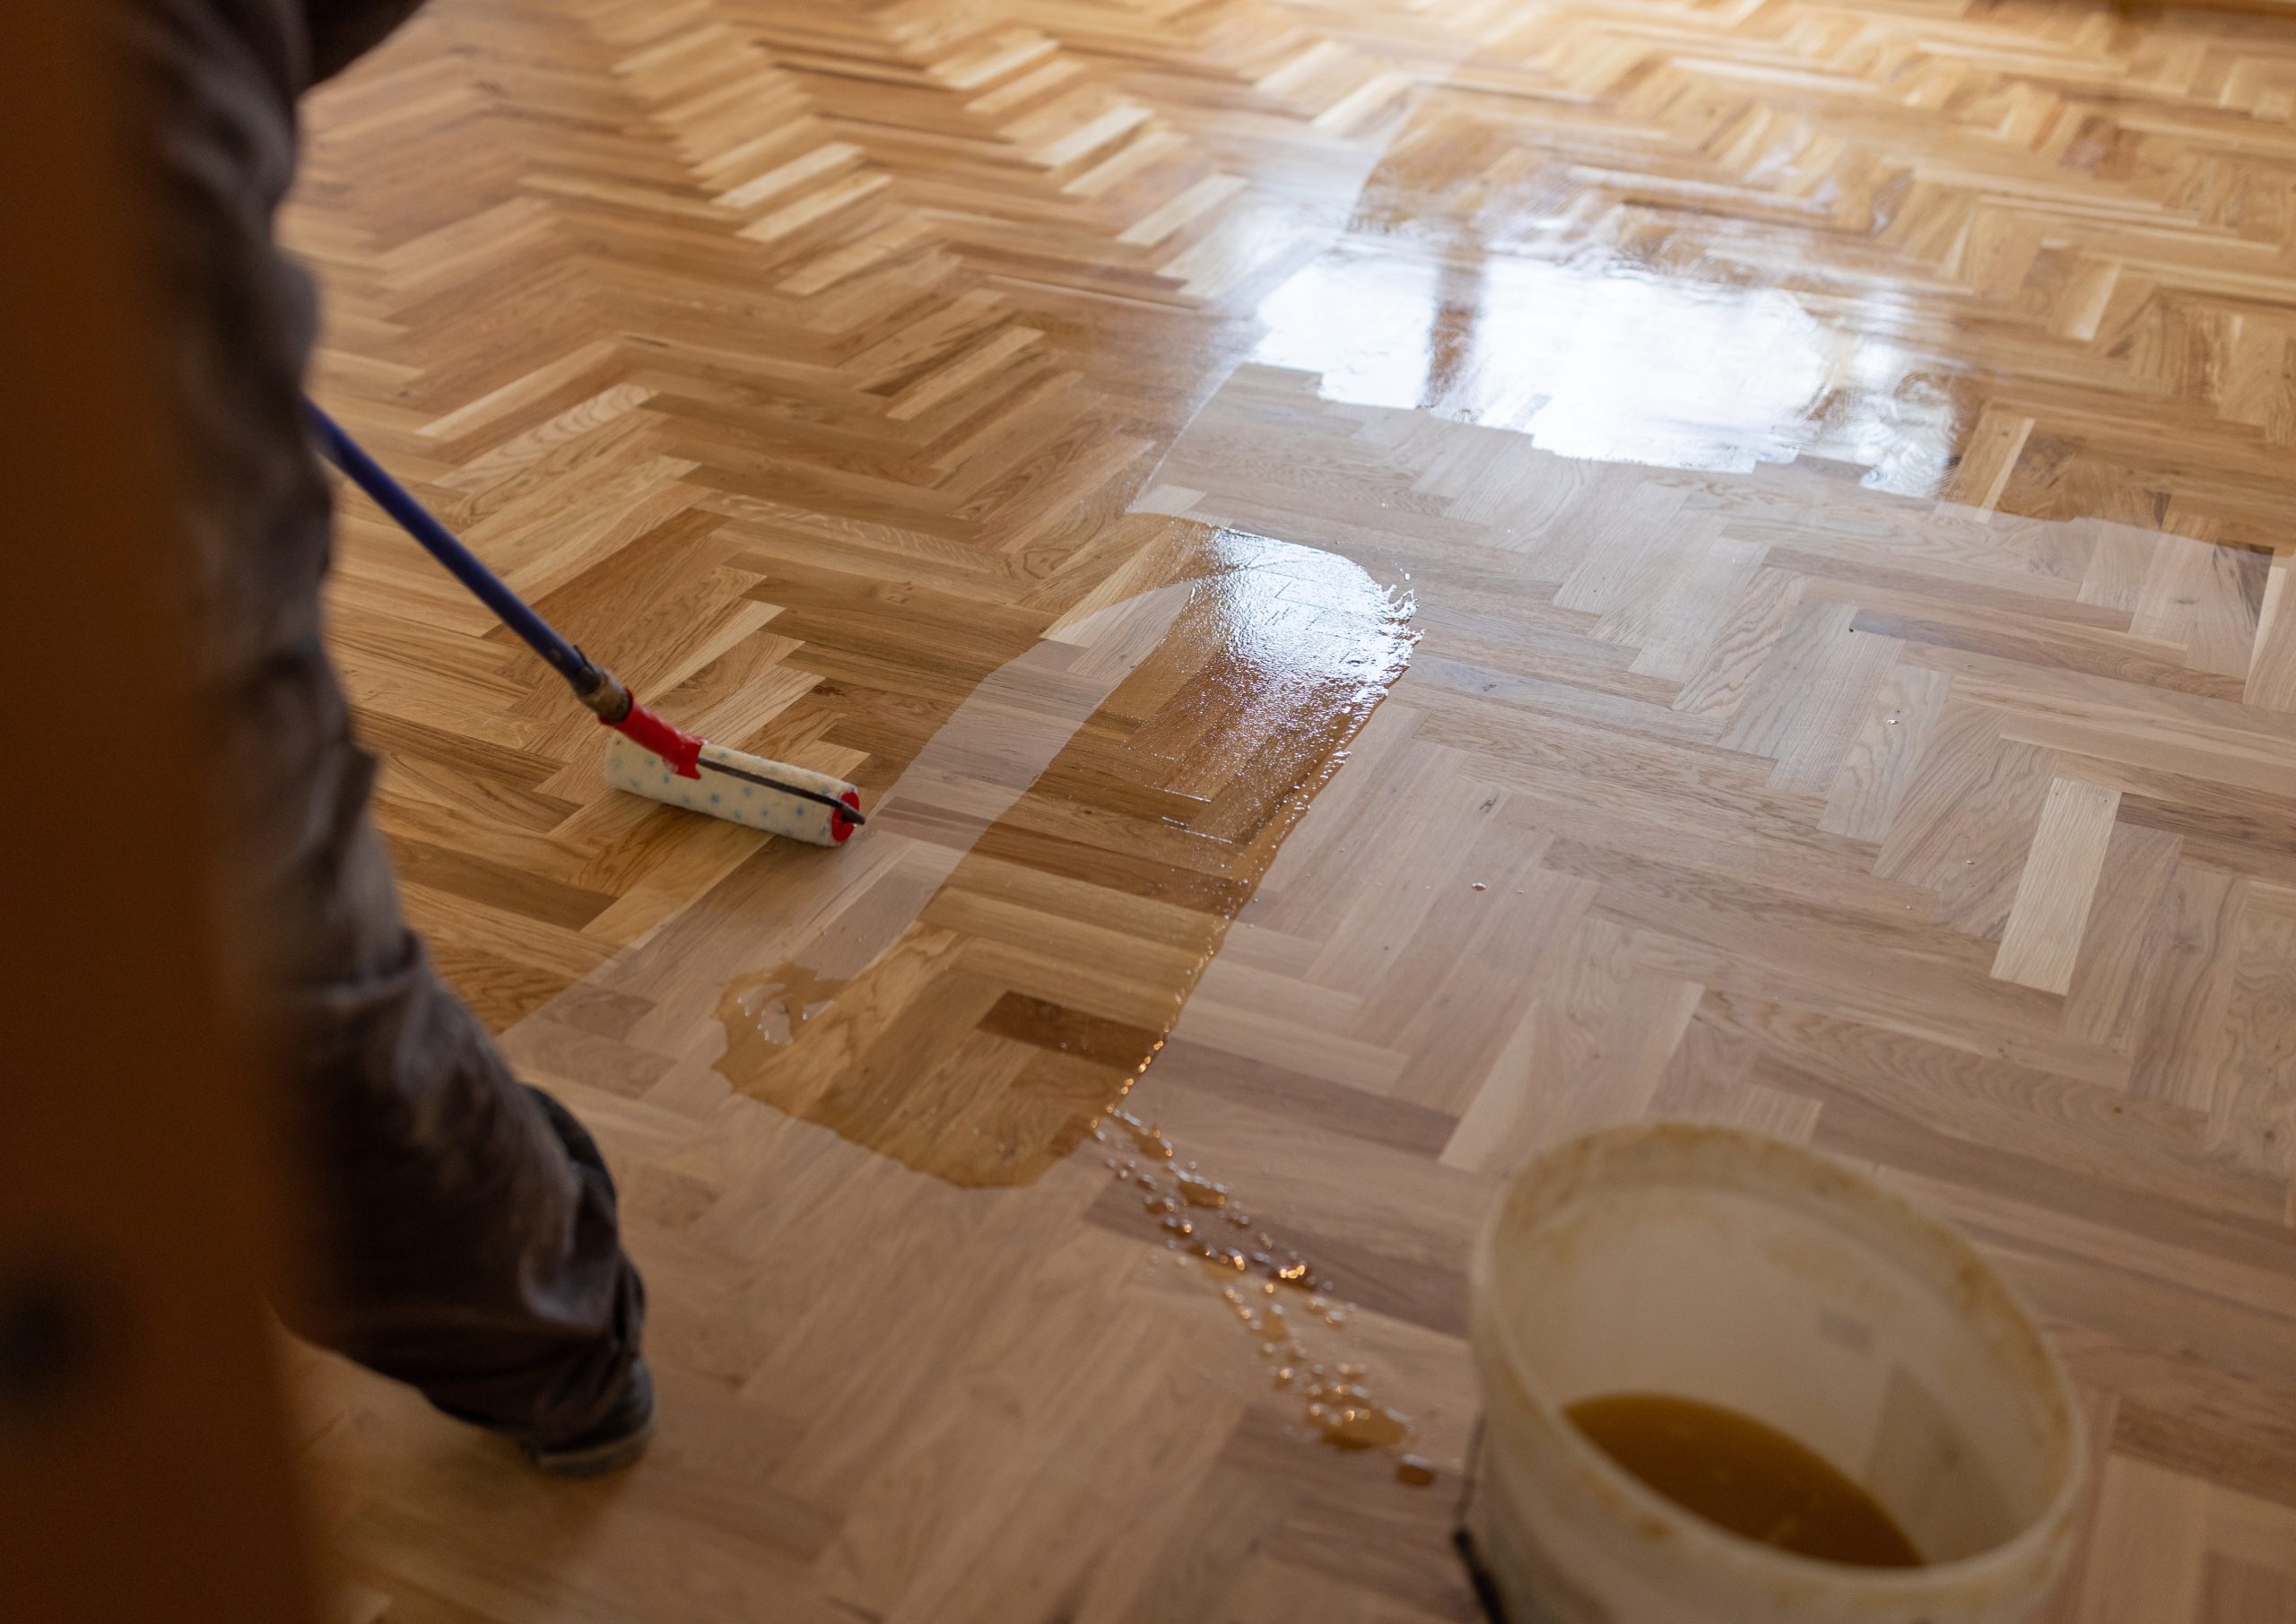
Pro tip: Always patch test on a sanded, vacuumed 1 m² area in natural daylight. Some species (beech, maple) highlight applicator marks; dark stains on oak can telegraph any leftover scratches. The finish you select when Sanding Parquet Floors sets the tone for years—choose thoughtfully.
8) Staining? Then double-down on surface prep
Parquet takes stain beautifully if—and only if—the surface is utterly even.
- Water-pop (lightly dampen) to open grain for deeper, more even colour.
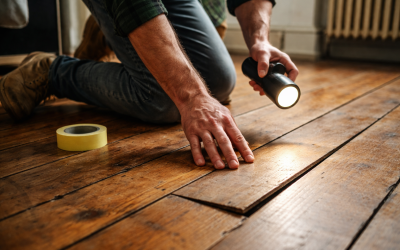
- Walk your light. Use a raking LED torch to spot swirls and scratches before you stain.
- Apply thin, even coats, wiping off excess consistently. Overlap lines are obvious on block patterns.
After stain cures, follow with your chosen top-coats per the manufacturer’s schedule.
9) Mind the edges, corners and borders (they frame your work)
The eye goes to edges and thresholds. Don’t leave them as an afterthought.
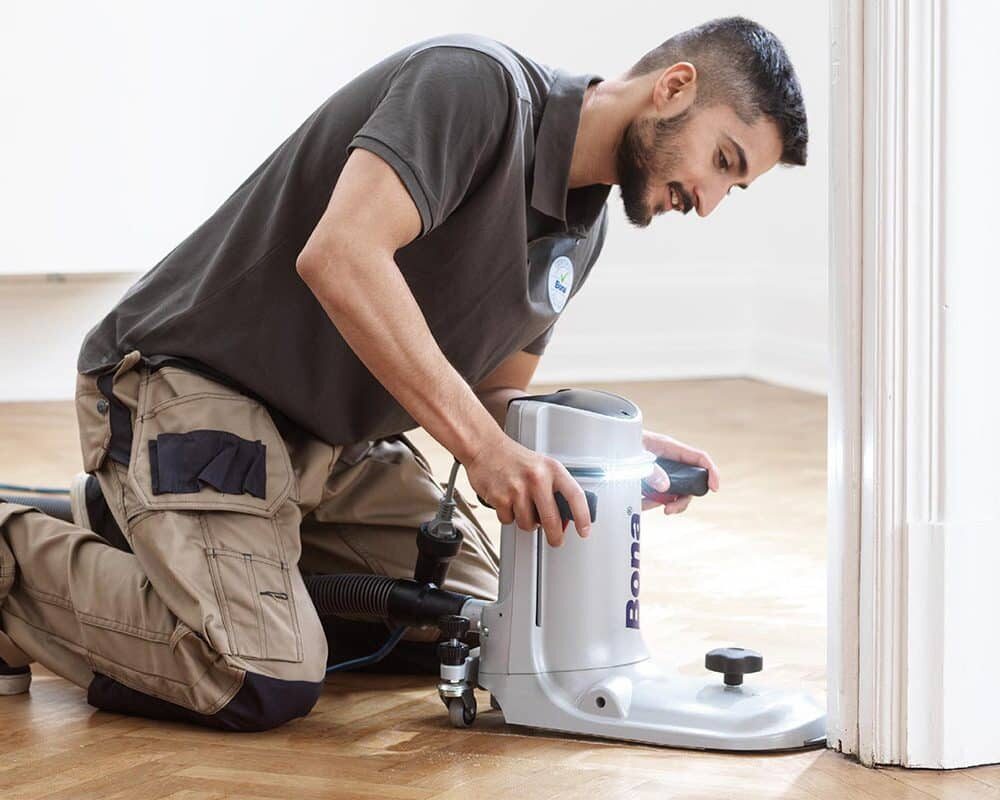
- Edger discipline: Keep the edger flat and moving; blend into the field with the same grit progression.
- Corners: Use a detail sander or, for purists, a sharp cabinet scraper drawn with even pressure—clean and fast once you get the feel.
- Feature borders: Mask neatly and sand with care. Borders set off the pattern; crisp lines elevate the whole room.
10) Keep your pace realistic (the calm schedule)
Rushing causes mistakes; mistakes cause drama.
A sensible domestic timeline (one medium room):
- Day 1 morning: Survey, repairs, set-up.
- Day 1 afternoon: 40 → 60 → 80 grits (field and edges), full trowel fill.
- Day 2 morning: Final sand (100/120), meticulous vacuum and tack.
- Day 2 afternoon: First coat of finish.
- Day 3: Light de-nib and second coat. A third coat may be added later the same day with water-based products or next day with oils/solvent finishes.
Curing: Light sock traffic after 24 hours (check product), furniture after 2–3 days (lift—don’t drag), rugs after 7–14 days so finishes harden fully.
11) What not to do (common pitfalls and how to dodge them)
- Don’t chase low spots with a coarse grit forever. You’ll create waves. Aim for flat-enough, then let the multi-disc refine.
- Don’t skip from 40 straight to 80. The scratches won’t magically vanish; they’ll reappear under stain.
- Don’t grind directly along one block direction. That’s how cross-grain valleys form.
- Don’t leave adhesive smears. Heat and solvents push residues deeper. Scrape, then sand with fresh abrasives.
- Don’t over-sand edges. A halo ridge where the edger meets the field is visible in low light.
- Don’t ignore dust. A single fluffy corner can pepper your first coat with nibs.
- Don’t forget expansion. Jammed floors expand and crush borders or pop blocks.
12) Maintenance that protects your work
Refinishing is the beginning of a longer story. Protect the look—without fuss.
- Entrance mats inside and out (grit is sandpaper).
- Felt pads under chairs, tables and plant stands.
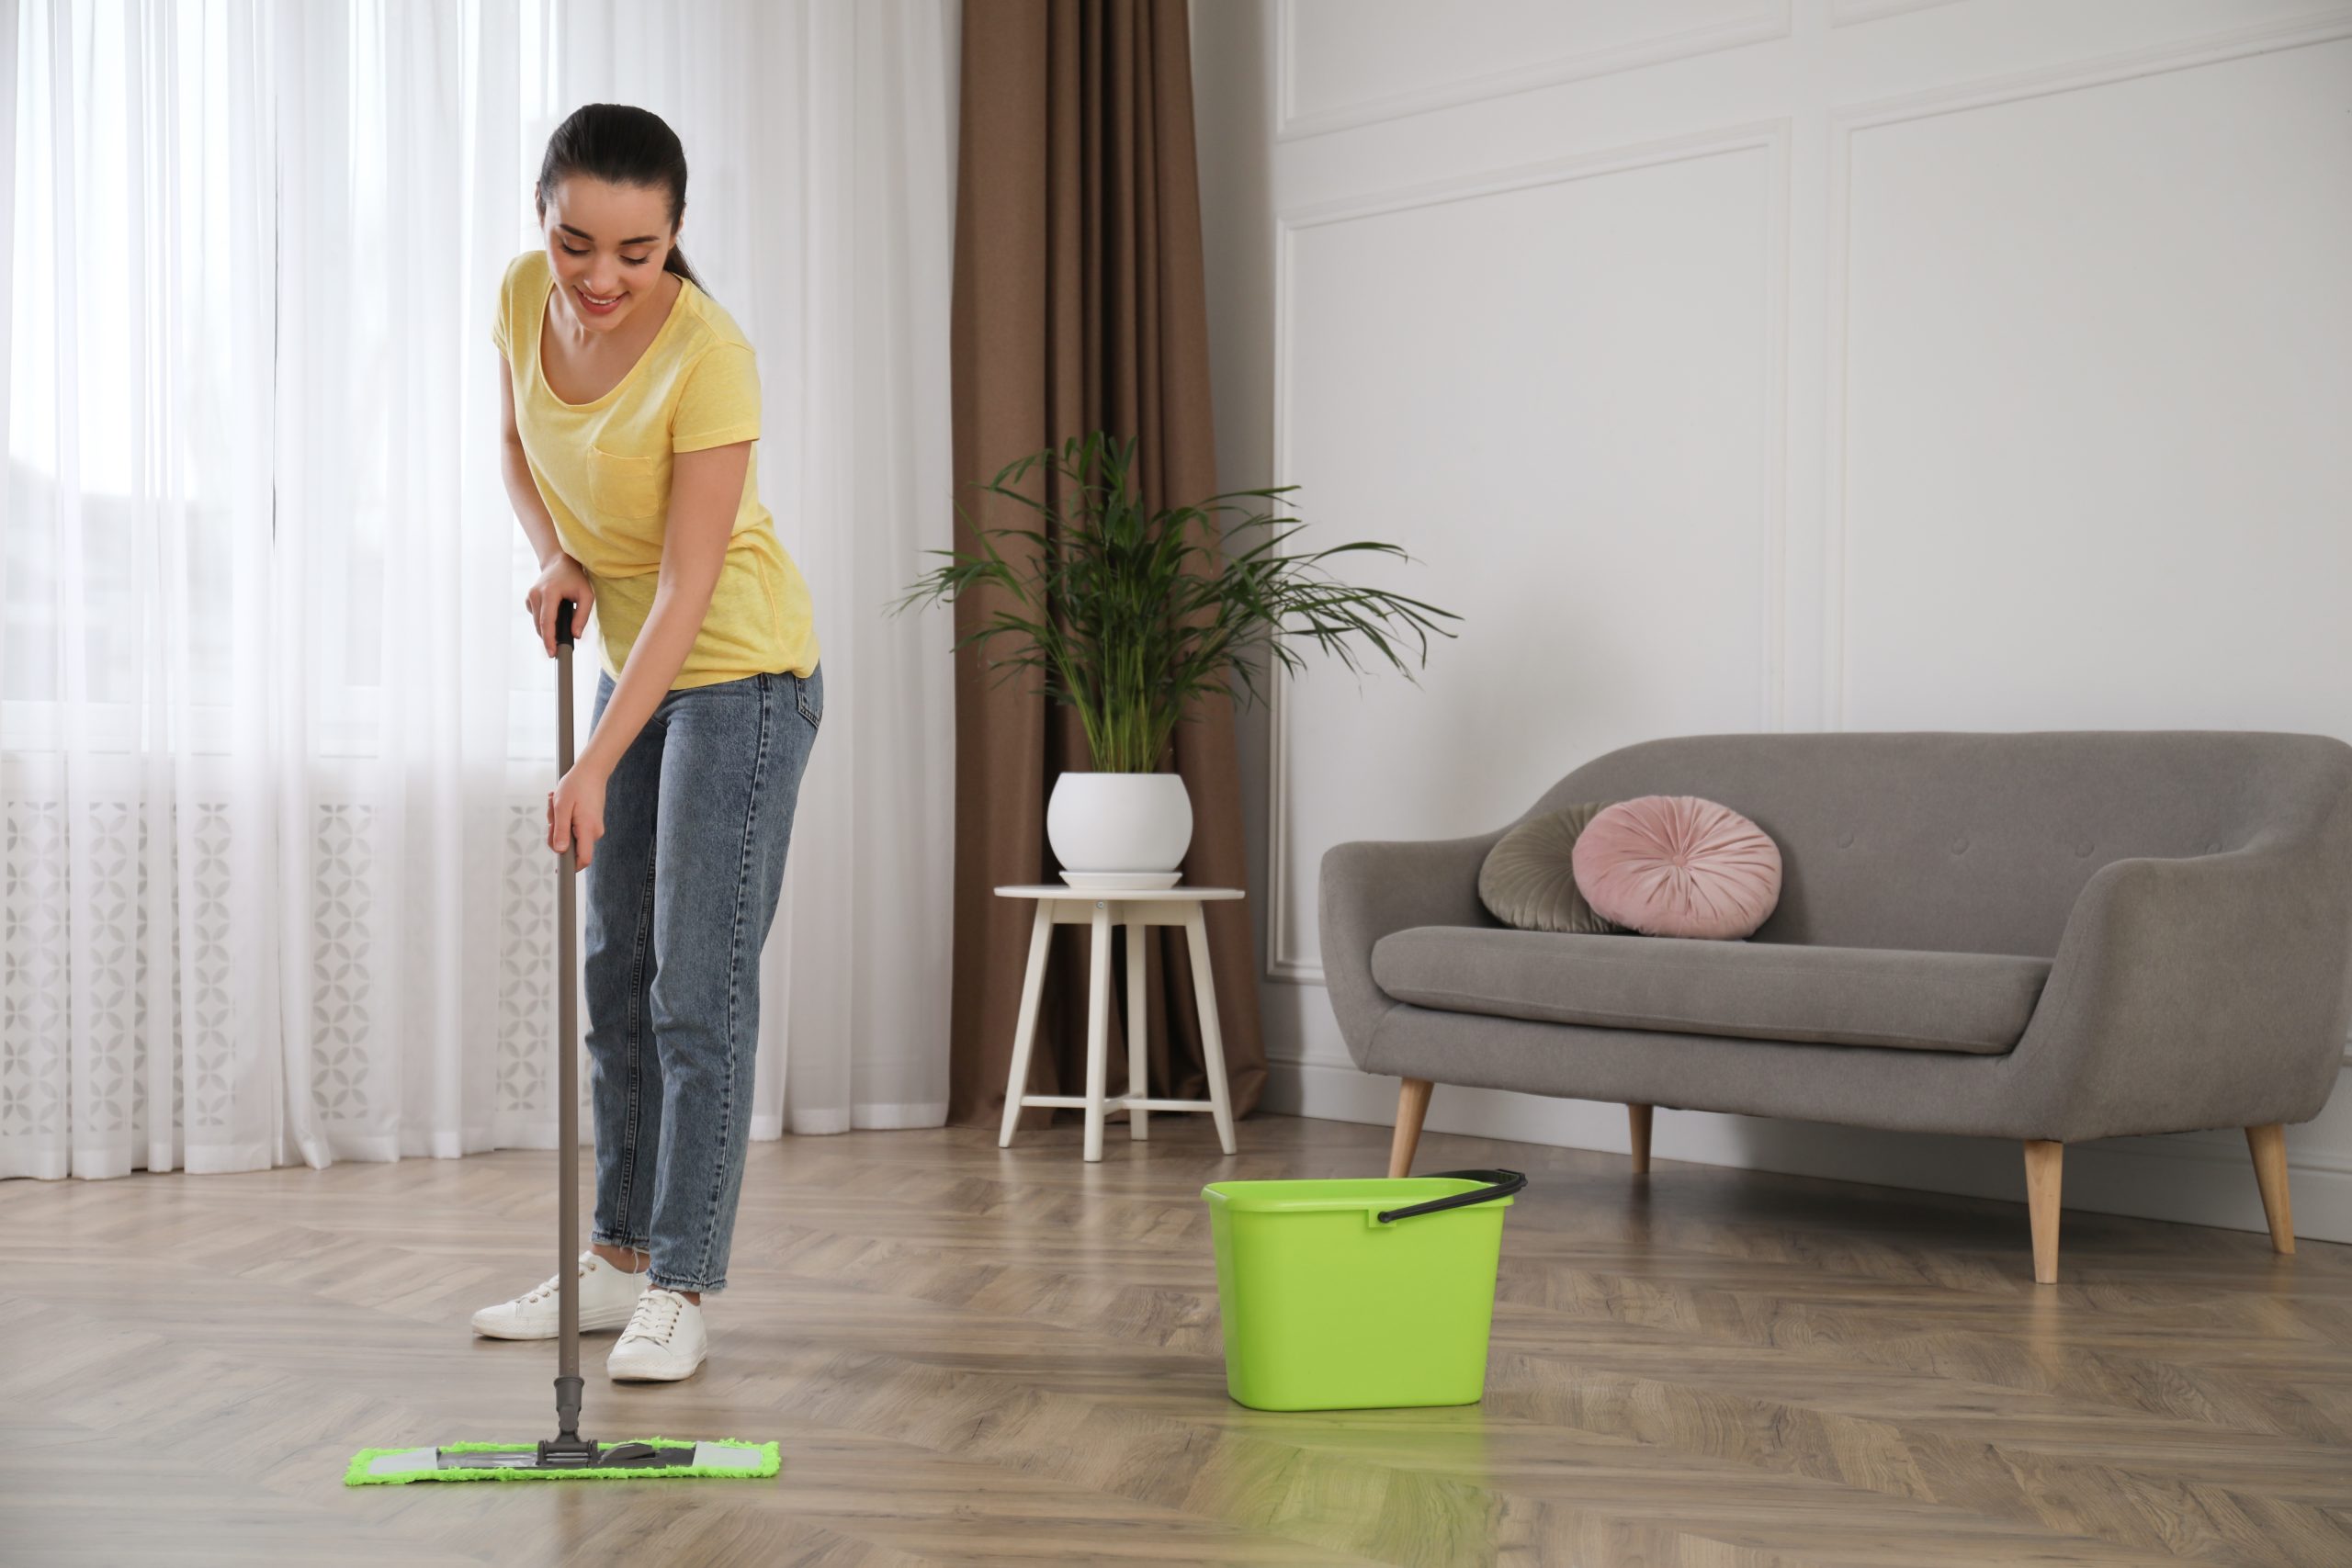
- Neutral pH cleaner (no steam mops, no bleach). Microfibre, lightly damp.
- Routine refresh: Lacquered floors appreciate a maintenance polish; hardwax-oiled floors like periodic soap and a light top-up oil in traffic lanes.
- Re-coat window: A quick de-nib and one maintenance coat every few years keeps the finish layered and strong—far cheaper than another full sand.
13) Tools that make it easier (hire smart, not heavy)
You don’t need to own a workshop. Quality hire kit pays for itself in results.
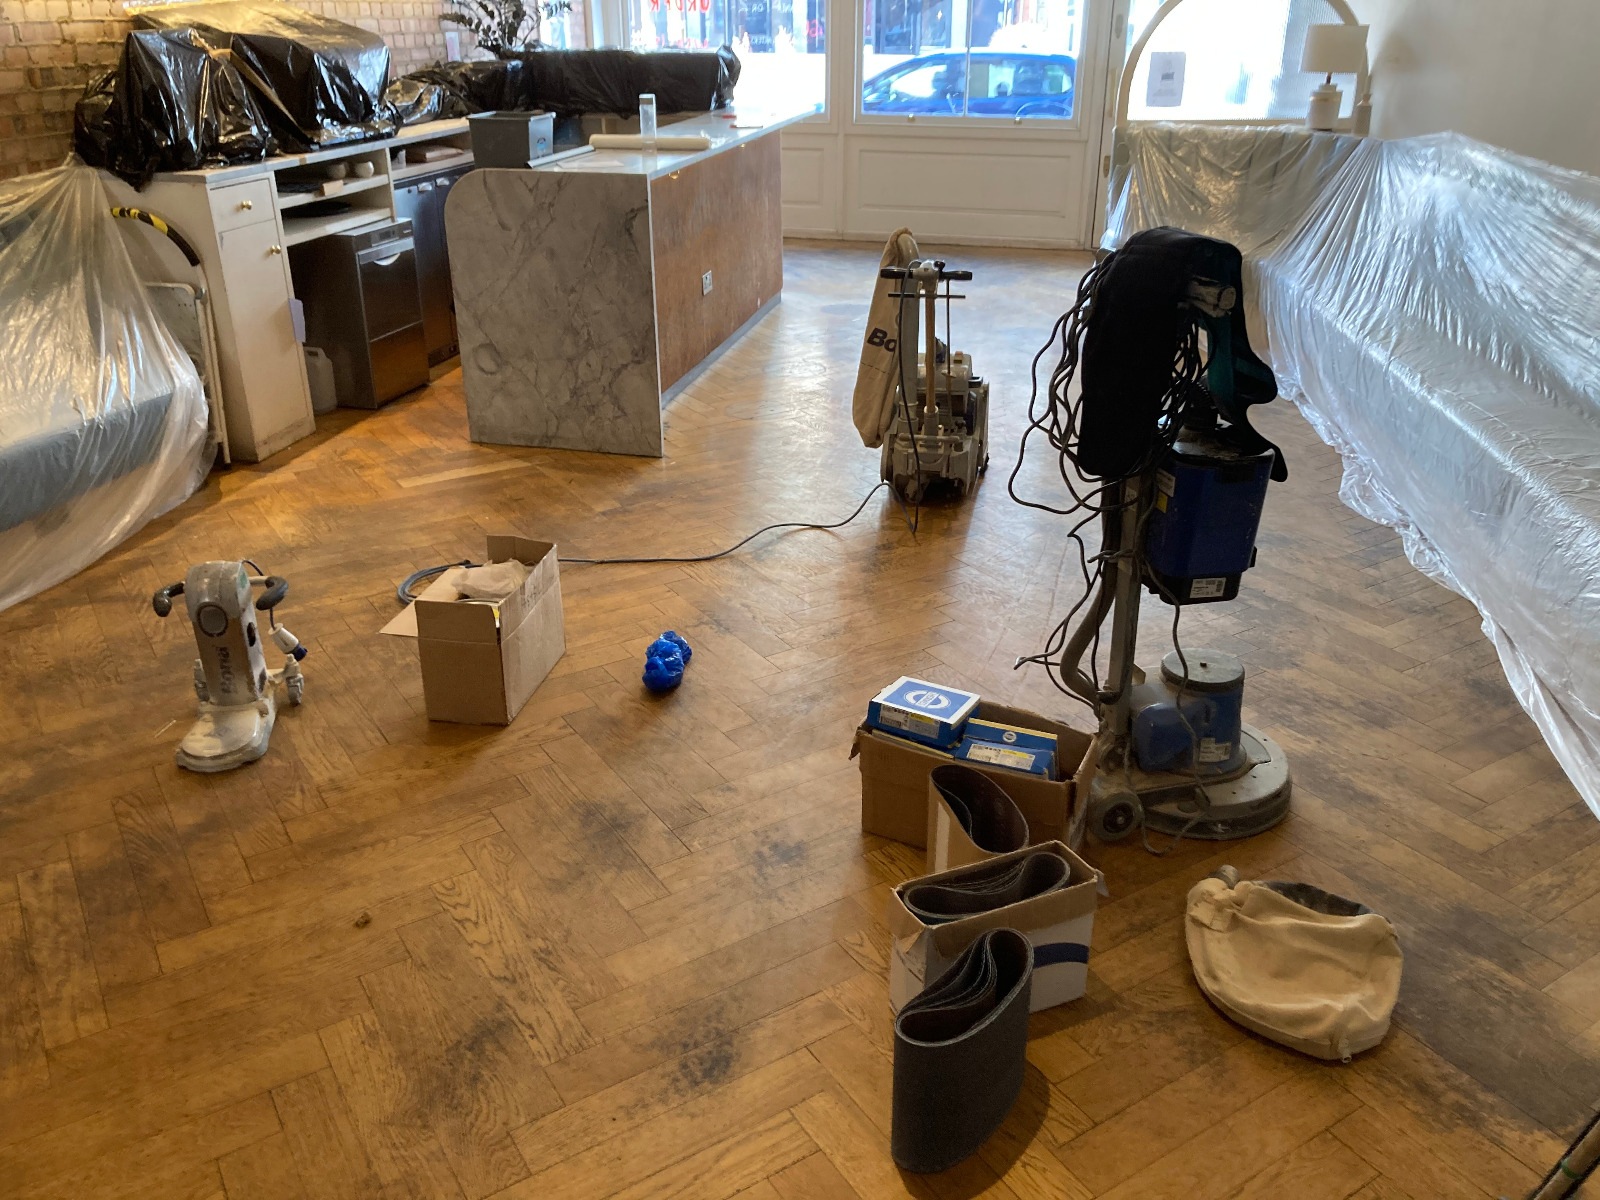
- Belt sander with decent extraction and fresh belts in multiple grits.
- Edger with matched discs and a firm, flat pad.
- Multi-disc finisher (Trio/Planetary) for mark-free final passes.
- Detail sander or cabinet scraper for corners.
- Powerful vacuum with a soft floor head.
- LED work light to reveal swirls before they’re sealed in.
- Steel trowel and a recommended parquet adhesive if repairs are required.
Set up your workflow so abrasives and pads are laid out by grit; you’ll avoid grabbing the wrong disc in the moment.
14) Health, safety and comfort (because you’re not a martyr)
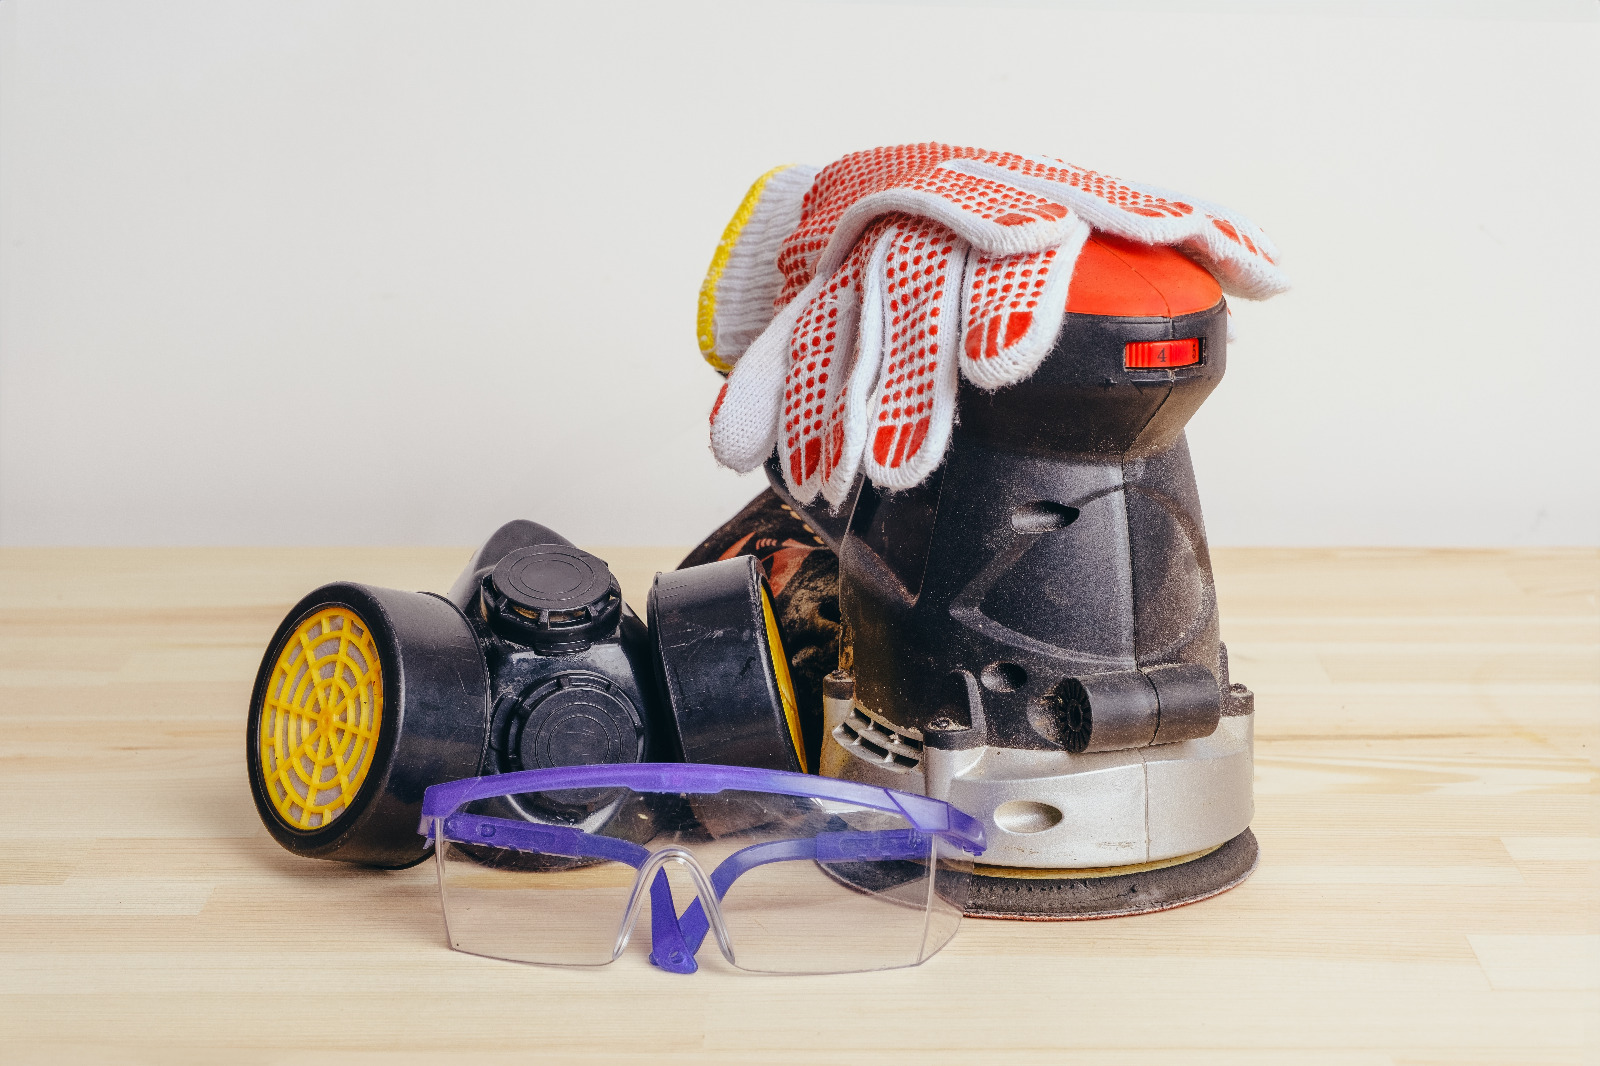
- Hearing protection—proper defenders for hours of machine noise.
- Respiratory mask (P2/P3). Even with extraction, fine dust is real.
- Knee pads and gloves—your joints and hands will thank you.
- Regular breaks. Tired operators make wavy floors.
A comfortable, methodical operator does better work, faster.
15) When to call in help (and feel smart about it)
DIY is satisfying, but some scenarios are perfect for a professional:
- Significant subfloor moisture or suspected damp.
- Heavily patched, loose or cupped blocks across large areas.
- Complex patterns, borders or inlays you want preserved to heritage standards.
- Tight deadlines where a whole-house schedule demands a multi-person crew.
- High-stakes rooms (grand hallways, reception spaces) where perfection is the brief.
In those cases, professional Sanding Parquet Floors can deliver speed, flatness and finish consistency that’s tough to match on a first attempt—and can often rescue tricky floors without removing as much timber.
Final word: avoid the drama with calm, clear steps
Parquet rewards patience and process. If you survey properly, stabilise the pattern, follow a strict grit sequence, trowel-fill, and choose an appropriate finish, you’ll sidestep virtually all of the common frustrations. Most of what looks like “mystery problems” comes down to skipping one of those steps.
Ready for a hand or a second opinion? Whether you’re mid-project and need a rescue plan, or you’d prefer a beautifully managed start-to-finish service, book a friendly visit and quote today. You’ll get practical advice, a realistic timeline, and a showroom-worthy result—without the stress.
For expert help with Sanding Parquet Floors, request your visit now and enjoy a calmer, cleaner, longer-lasting transformation.
FAQ (because you’ll ask)
How do I know if my blocks are thick enough for another sand?
Most traditional solid parquet blocks started life at around 20–22 mm. Unless they’ve been over-sanded repeatedly in the past (you’ll see ultra-thin tongues and pronounced lips), there’s plenty of material. Edge-lipping and cupping are bigger clues to past abuse than overall thickness.
Can I sand engineered parquet?
Yes—if the wear layer is typically 3–6 mm and intact. Measure at a threshold or scrap offcut. Stay conservative with your levelling passes and finish with multi-disc rather than trying to flatten aggressively.
Will water-based lacquer make oak look too pale?
Modern lacquers come with “raw” or “invisible” primers to keep a natural tone, and “warm” primers to add a hint of amber. Patch test to match the room’s light and your furniture.
Why does dust keep appearing before I coat?
It’s often static or wind eddies. Vacuum slowly with anti-static hose if possible, wait 10–15 minutes for airborne dust to settle, then tack with a clean, slightly damp microfibre just before coating.
Can I live in the house during the work?
Usually yes, but plan routes and drying windows. Water-based products are lower odour and open rooms sooner; oils need more cure time but are easy to maintain later.
Call to action: Ready to skip the guesswork and keep the peace at home? Arrange a free site visit and quotation for professional Sanding Parquet Floors and enjoy a calm, clean, confidence-building restoration.