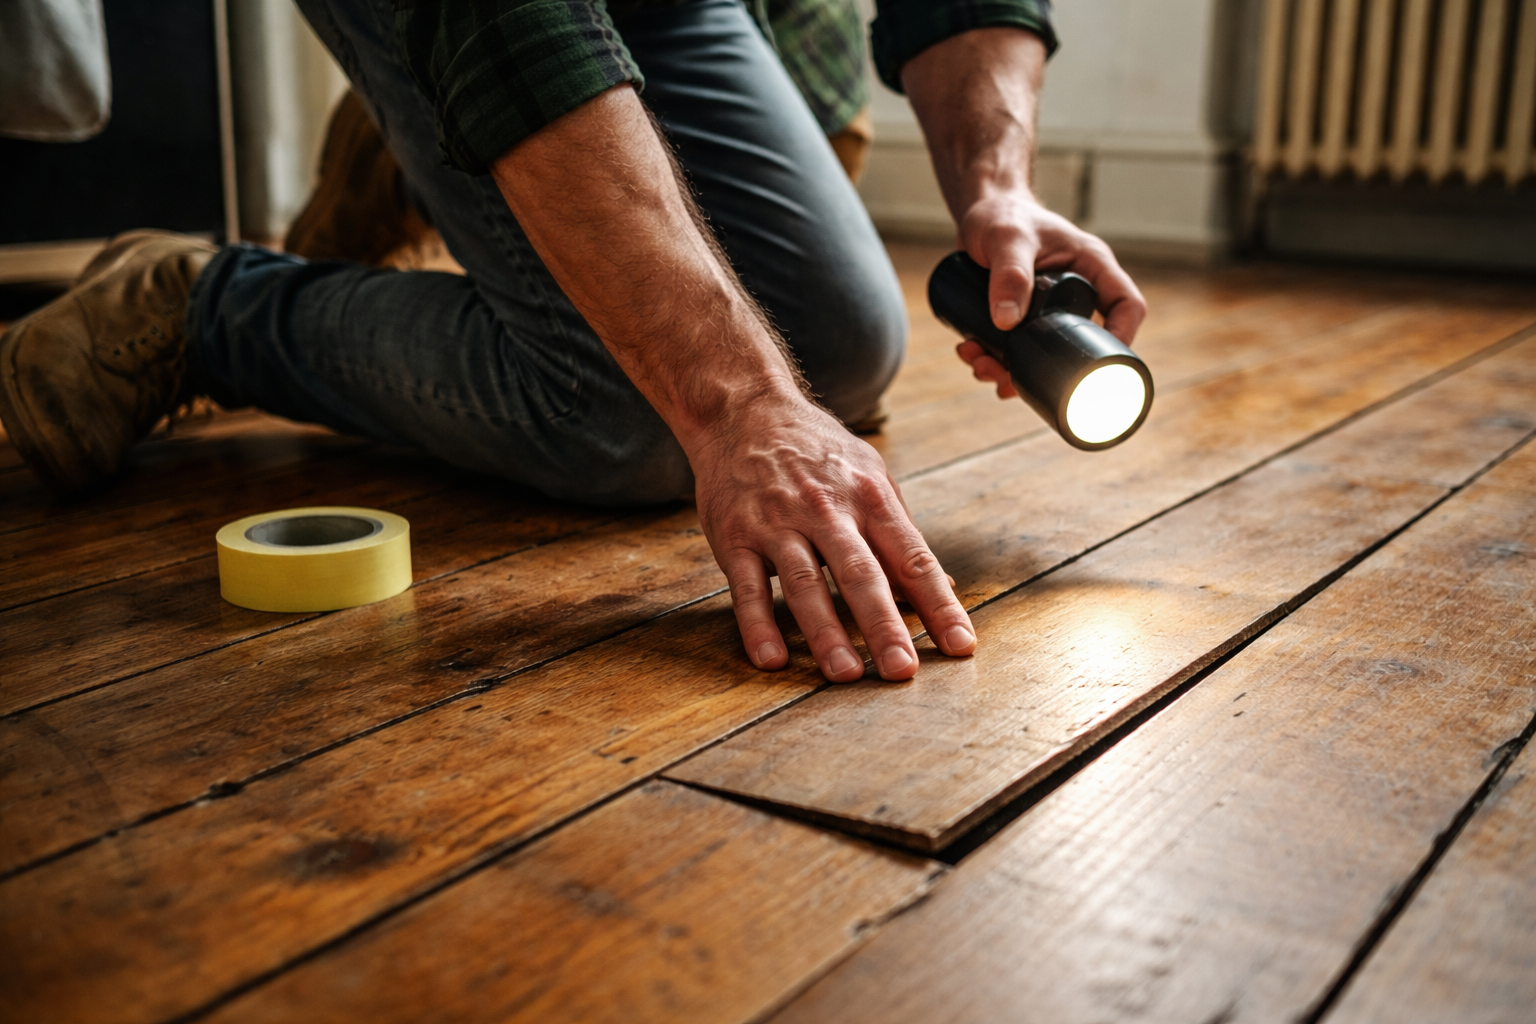
Bouncy Floorboards in Sydenham: What to Check Before Sanding
If your timber floor feels springy, dips underfoot, or seems to move when you cross the room, do not ignore it. Before any abrasive touches the surface, the floor needs a proper stability check. At Sydenham Floor Sanding, this is exactly the sort of issue that should be identified early, because sanding a floor with movement underneath rarely produces a durable finish. A professional pre-sanding assessment helps you spot loose boards, failed fixings, hidden subfloor weakness, and moisture-related movement before those problems are locked beneath a freshly restored surface.
For many homeowners, “bouncy” boards are easy to miss because the floor may still look broadly sound from above. Yet movement in the floor structure can affect sanding quality, filler performance, finish adhesion, long-term noise levels, and the overall lifespan of the restoration. In period homes across Sydenham, especially properties with original pine boards, suspended timber subfloors, older joists, and areas of historic settlement, a slightly soft floor can quickly become a bigger issue once the project begins.
This guide explains how to recognise the warning signs before sanding starts, what usually causes the bounce, when simple stabilisation is enough, and when deeper repair work is the smarter option. If your floor has any give underfoot, it is far better to diagnose the cause now than after the sanding machinery has already exposed every weakness.
What do we actually mean by “bouncy” boards?
“Bouncy” boards are floorboards that move more than they should when weight is applied. That movement may feel like a light spring, a noticeable flex, a localised dip, or a slight up-and-down response around a joint, edge, or fixing point. In some rooms, the board itself is not the real problem at all. The movement may be coming from the joists below, the way the board is fixed, shrinkage around nails, previous poor repairs, or uneven support beneath the floor.
Homeowners often describe the same issue in different ways:
- the floor feels soft in one area
- certain boards “give” under pressure
- there is a little trampoline effect near the middle of the room
- the boards creak and move together
- one board lifts slightly when the next board is stepped on
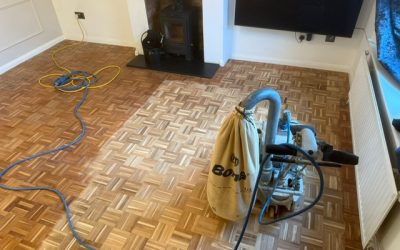
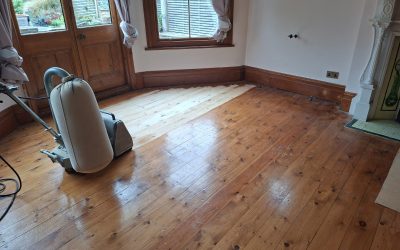
All of these symptoms matter before sanding because the sanding process is designed to flatten, smooth, and refine the visible surface. It does not fix structural movement beneath that surface. In fact, if a floor is unstable, sanding can make the defects more obvious by removing old coatings that were visually masking the problem.
Why bouncy boards are a problem before sanding
A floor that moves underfoot is not automatically unsafe, but it is never something to dismiss before restoration. Sanding machines rely on consistent contact with the surface. When the timber flexes, results become less predictable and defects are more likely to show up after the job is finished.
Common pre-sanding risks include:
- Uneven sanding results: movement can stop the machine cutting evenly across the board surface.
- Visible ridges or chatter: flexing boards are harder to sand flat, especially where edges lift slightly.
- Failed gap filling: filler can crack, crumble, or separate if boards keep moving after application.
- Noisy finished floors: squeaks and rubbing points often remain if stability work is skipped.
- Reduced finish performance: movement can stress the finished surface over time, especially in busy areas.
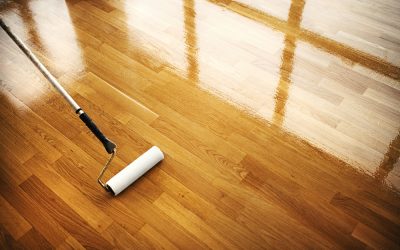
This is one reason stability checks should always come before cosmetic decisions about stain colour, sheen level, or whether you want lacquer or oil. A beautiful finish applied to an unstable floor is still an unstable floor.
The most common causes of bouncy floorboards
1. Loose fixings
Older timber floors are often held by nails that have loosened over the years. As the wood naturally expands and contracts through seasonal humidity changes, those fixings can lose grip. The result is movement, squeaking, or a slight lift at board edges.
2. Joist movement or deflection
Sometimes the board is sound, but the joist beneath is undersupported, slightly twisted, notched too aggressively, or weakened by age. In older Sydenham housing stock, this can happen in rooms that have seen repeated alterations, heavy wear, or changes to partitions and hearths over the years.
3. Board shrinkage and historic gaps
As timber dries and seasons, boards may shrink, leaving wider gaps and less lateral support. That alone does not always cause bounce, but it often contributes to movement where fixings are already marginal or where neighbouring boards no longer help stabilise each other properly.
4. Previous patch repairs
Patch repairs are common, especially where boards were lifted for wiring, plumbing, radiator pipework, or hearth work. If repaired sections were refitted badly, packed unevenly, or fixed into weak material, the floor can feel inconsistent from one step to the next.
5. Subfloor or sleeper issues
In suspended timber floors, the problem may sit below the visible boards. Worn battens, poor packing, inadequate noggins, or localised settlement can all create spring in the finished floor surface.
6. Moisture-related movement
Wood reacts to its environment. When moisture levels rise or fall significantly, boards can swell, cup, shrink, gap, or shift in the way they perform. If that moisture cycle has been ongoing for years, movement underfoot is often one of the early practical signs that something needs closer inspection.
How to identify bouncy boards before sanding starts
The best inspection combines walking the floor, listening carefully, checking visually at low angle, and testing suspect areas board by board. Here is a practical pre-sanding method that works well for homeowners and survey-stage contractors alike.
Walk the room slowly
Do not just stride across the floor. Walk slowly and deliberately, transferring weight through your heels and then the ball of the foot. Pay attention to how the floor responds in different zones, especially:
- the centre of the room
- door thresholds
- bay windows and chimney breast returns
- perimeter boards near external walls
- areas where old carpets or laminate have recently been removed
If the floor dips slightly, rebounds, or produces a repeated soft feel in one particular run of boards, mark the area with low-tack tape for closer inspection.
Listen for squeaks, clicks, and rubbing sounds
Noise alone does not always mean structural trouble, but repeated squeaks often point to movement between board and fixing, board and board, or board and joist. A sharp click can indicate a board edge moving against a neighbouring board. A rubbing or friction sound may suggest compressed debris, historic filler failure, or movement over an uneven support point.
Check board edges and fixing lines
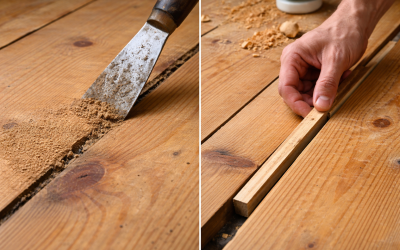
Look for nail heads sitting proud, old punched fixings that have loosened, slight shadow lines at edges, or boards that seem fractionally higher than the next. Run a straightedge across suspect areas if needed. Even a small amount of lift can matter once sanding starts.
Test with localised pressure
Apply pressure to individual boards using your foot near the centre, then near the fixing lines if visible. If a board moves more in the middle than at the edges, support below may be the issue. If it shifts near the edge or end joint, the fixing pattern may be the bigger culprit.
Look for filler cracking or old repair failure
If the floor has been treated before, cracked resin lines, broken slivers, or patchy filler loss can tell you that movement has been happening for some time. This is especially relevant if you are planning sanding steps that rely on proper preparation and stable filling work.
Inspect from below where possible
If there is cellar access, a basement void, or a lifted board in an adjacent cupboard, inspect the underside. You may spot deflected joists, crude notching, missing support, historic water staining, loose pipe cuts, or repairs that explain the bounce immediately.
Key warning signs that mean you should pause the sanding plan
- boards visibly move when stepped on
- several boards flex together in the same zone
- you can feel a dip rather than a surface wobble
- squeaks are accompanied by spring underfoot
- old filler has repeatedly failed in the same joints
- there are signs of damp, staining, or past leaks
- boards have already been patched, packed, or screwed in a piecemeal way
- the room contains obvious unevenness that sanding alone will not solve
If any of the above are present, sanding should be treated as the second stage of the project, not the first.
How a professional assesses bouncy boards
A competent floor restoration specialist will not simply quote for sanding by square metre and start abrading on day one. Proper pre-sanding assessment should include board condition, fixing integrity, moisture context, localised repairs, and whether the movement is isolated or systemic. On the Sydenham Floor Sanding website, the company specifically references realignment of wobbly boards or blocks, repair or replacement of damaged areas, and integrated gap-filling options, which is exactly the mindset you want before refinement work begins.
In practice, that assessment often covers:
- board thickness and wear remaining
- fixing type and fixing security
- movement pattern across the room
- signs of moisture ingress or long-term humidity stress
- subfloor flatness and support quality
- whether minor stabilisation or more involved joinery repair is needed
If your floor is otherwise restorable, stabilisation is often entirely achievable and far more sensible than replacement.
Can bouncy boards usually be fixed?
Very often, yes. The right repair depends on the cause.
When the fix is relatively straightforward
- re-securing loose boards with the correct fixing method
- tightening localised sections where nails have failed
- lifting and refitting badly repaired boards
- packing minor support gaps correctly
- replacing isolated damaged boards with matching or reclaimed timber
When the repair is more involved
- joist repairs or reinforcement
- moisture investigation before any sanding takes place
- subfloor levelling or support improvement
- deeper structural joinery where multiple boards move across a wider span
The important point is that “bouncy” does not automatically mean “beyond saving”. Many floors that feel disappointing underfoot can be transformed once the movement is addressed properly. This is especially true in older homes where the original timber still has plenty of life left in it.
Why moisture checks matter before any sanding decision
Moisture and floor movement are closely linked. Timber responds continuously to its environment, and excessive dryness or excess humidity can both affect the way boards behave. The National Wood Flooring Association notes that moisture changes can lead to cupping, gapping, and changes in floor performance, while Osmo UK advises that wood surfaces should be clean and dry before treatment and gives preparation guidance based on proper sanding stages. Those principles matter just as much in restoration as they do in installation or finishing.
If your bouncy boards are near an external wall, chimney breast, bay, kitchen threshold, or previously damp-prone area, it is worth checking whether the movement is purely mechanical or partly environmental. Otherwise, you risk repairing symptoms without solving the cause.
The right order of work before sanding begins
- Inspect the floor thoroughly.
- Mark all areas of movement.
- Check moisture context and any signs of historic damp.
- Lift and inspect locally where needed.
- Secure, repair, or replace unstable boards.
- Confirm the floor feels solid underfoot.
- Only then begin the sanding sequence.
That order matters. For example, if you later want an oil finish, preparation standards still matter greatly. Osmo UK’s preparation guidance emphasises a clean, dry surface and a disciplined sanding approach before treatment, which reinforces the wider point: finishing products perform best when the substrate is already sound.
What Sydenham homeowners should pay particular attention to
Sydenham’s housing stock is mixed, but many properties still contain older suspended timber floors, period boards, patch repairs from heating and electrical works, and areas where decades of wear have slightly loosened the original fixing pattern. In these homes, the most common mistake is assuming that movement is “just part of an old house” and can be ignored during restoration.
Some movement may indeed be familiar in older homes, but that does not mean it should be left untreated before sanding. If anything, period floors benefit more from careful diagnosis because they deserve a restoration approach that protects original material rather than hiding defects beneath rushed cosmetic work. If your floor is also looking tired, scratched, or uneven, it is worth comparing the condition with related local resources such as hardwood floor refinishing advice for busy family homes and eco-friendly wood floor sanding in Sydenham, especially if you are balancing durability, low dust, and repair-first thinking.
When to call in a specialist
You should stop short of booking sanding alone if:
- the floor noticeably springs in several places
- you suspect joist movement
- there are signs of damp or long-standing moisture fluctuation
- boards have already been repaired badly in the past
- you want gap filling but the boards still move
- you want a premium finish and do not want the result compromised later
At that point, the best next step is to arrange an inspection and quote that treats the floor as a repair-and-restoration project rather than a simple sanding appointment. You can start with the quote request page, review the prices page, or go directly back to the Sydenham Floor Sanding homepage to arrange a proper assessment.
Final word
Identifying bouncy boards before sanding begins is one of the smartest decisions you can make in any wood floor restoration project. It protects the quality of the sanding, improves the chances of a stable long-term finish, and helps ensure that money is spent on the right stage of work in the right order.
If your Sydenham floor feels springy, squeaky, or slightly unstable, do not rush into sanding because the visible surface is only part of the story. Get the boards checked, stabilised where necessary, and assessed properly for moisture and support. Once the floor is solid, the sanding process can do what it is supposed to do: reveal clean, beautiful timber that looks right, feels right, and lasts.